Hello @floetenmaul,
No worries about questions! We’re happy to assist!
Thanks for the screenshot and the IMP file! Those really help to quickly identify any issues.
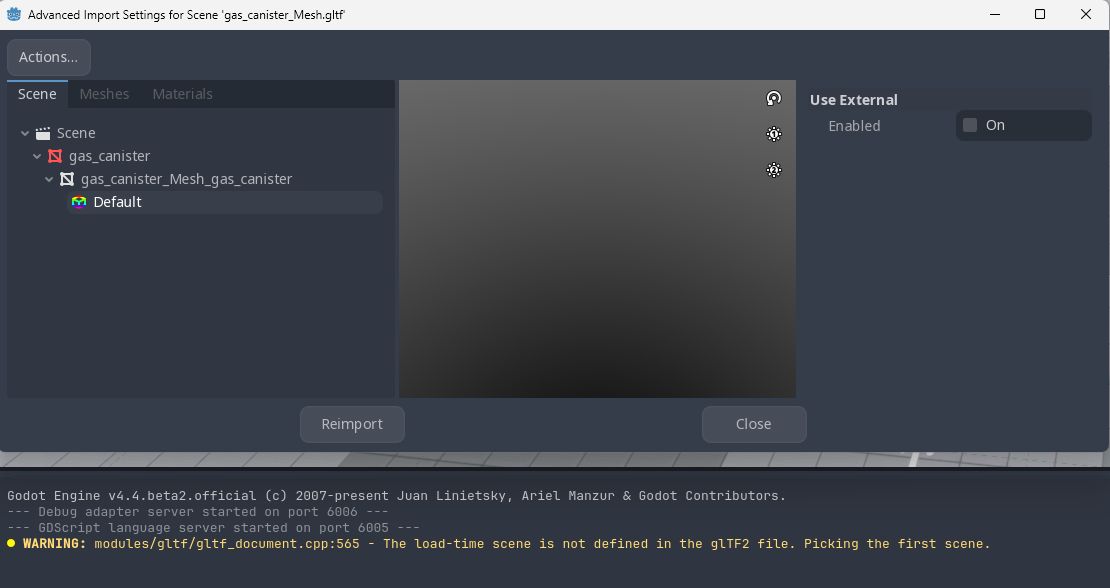
#1 Invalid GLTF File
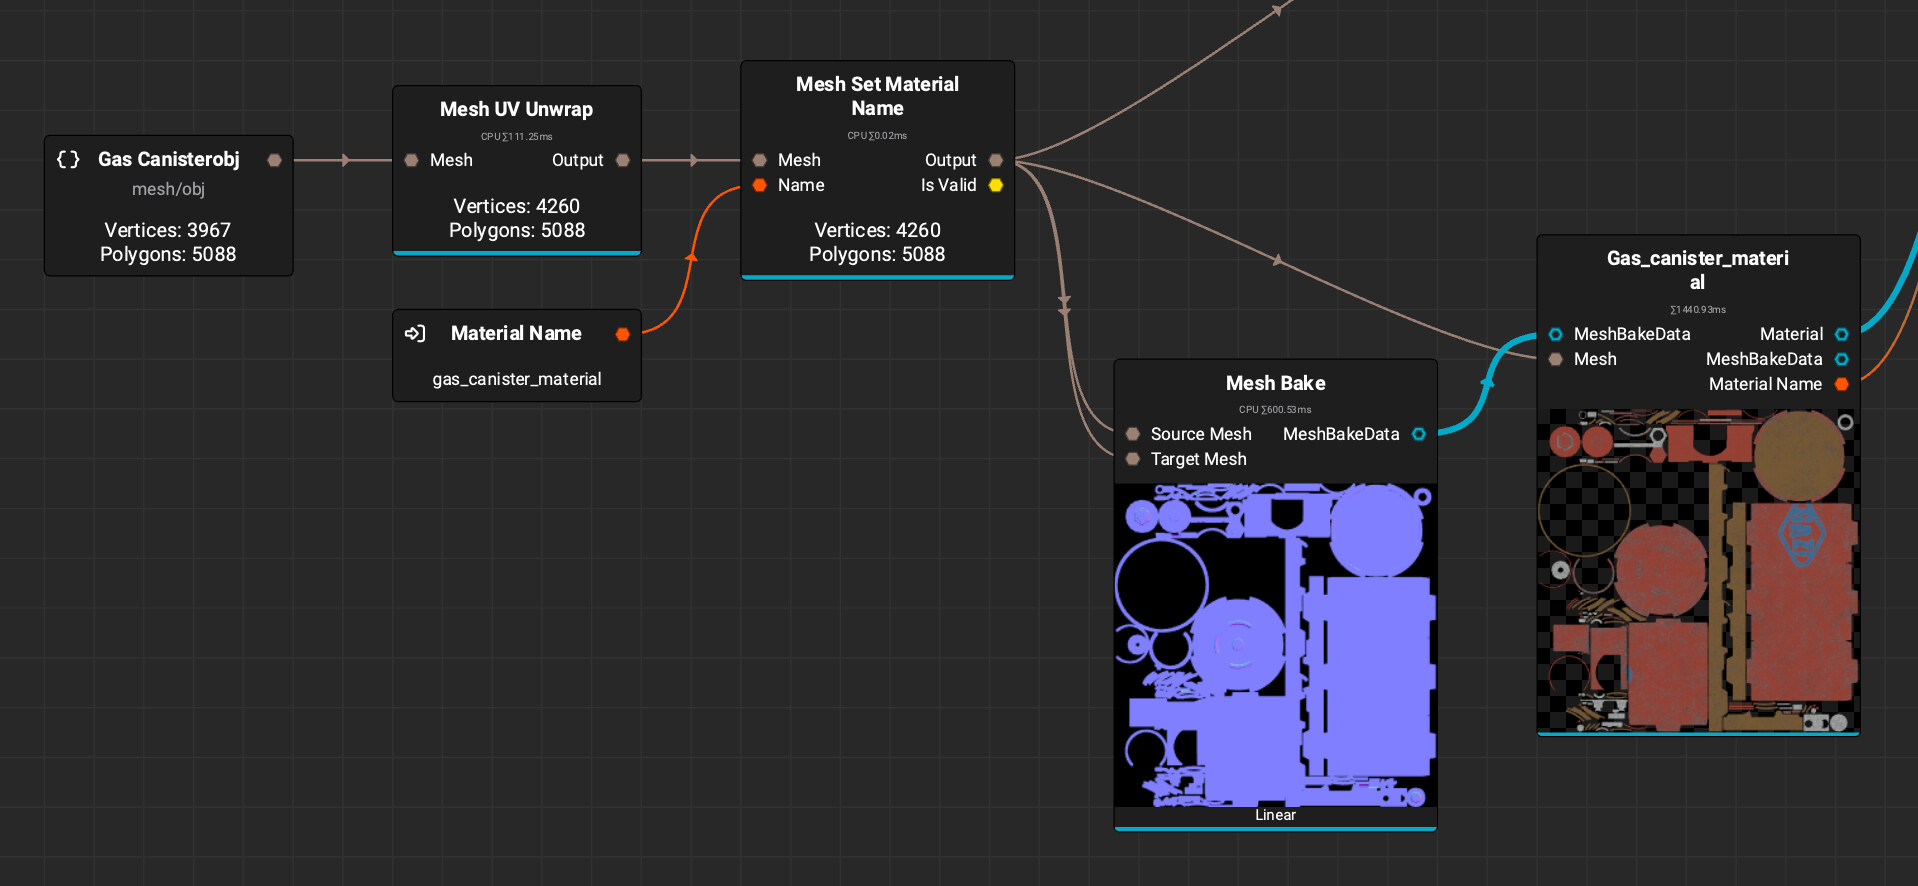
I think this might have to do with how the scene is set up. I wrote this answer after writing a few things below under the “Adjustments to Graph” section. I was able to reproduce Blender not being able to open the GLTF file from your graph, but after supplying a Path in the Scene Mesh Set node and enabling Create Node, the exported GLTF file opens in Blender. Though, I did need to remove a Mix Vertex Color node in Blender’s shader graph to see the Base Color. That might be Blender specific.
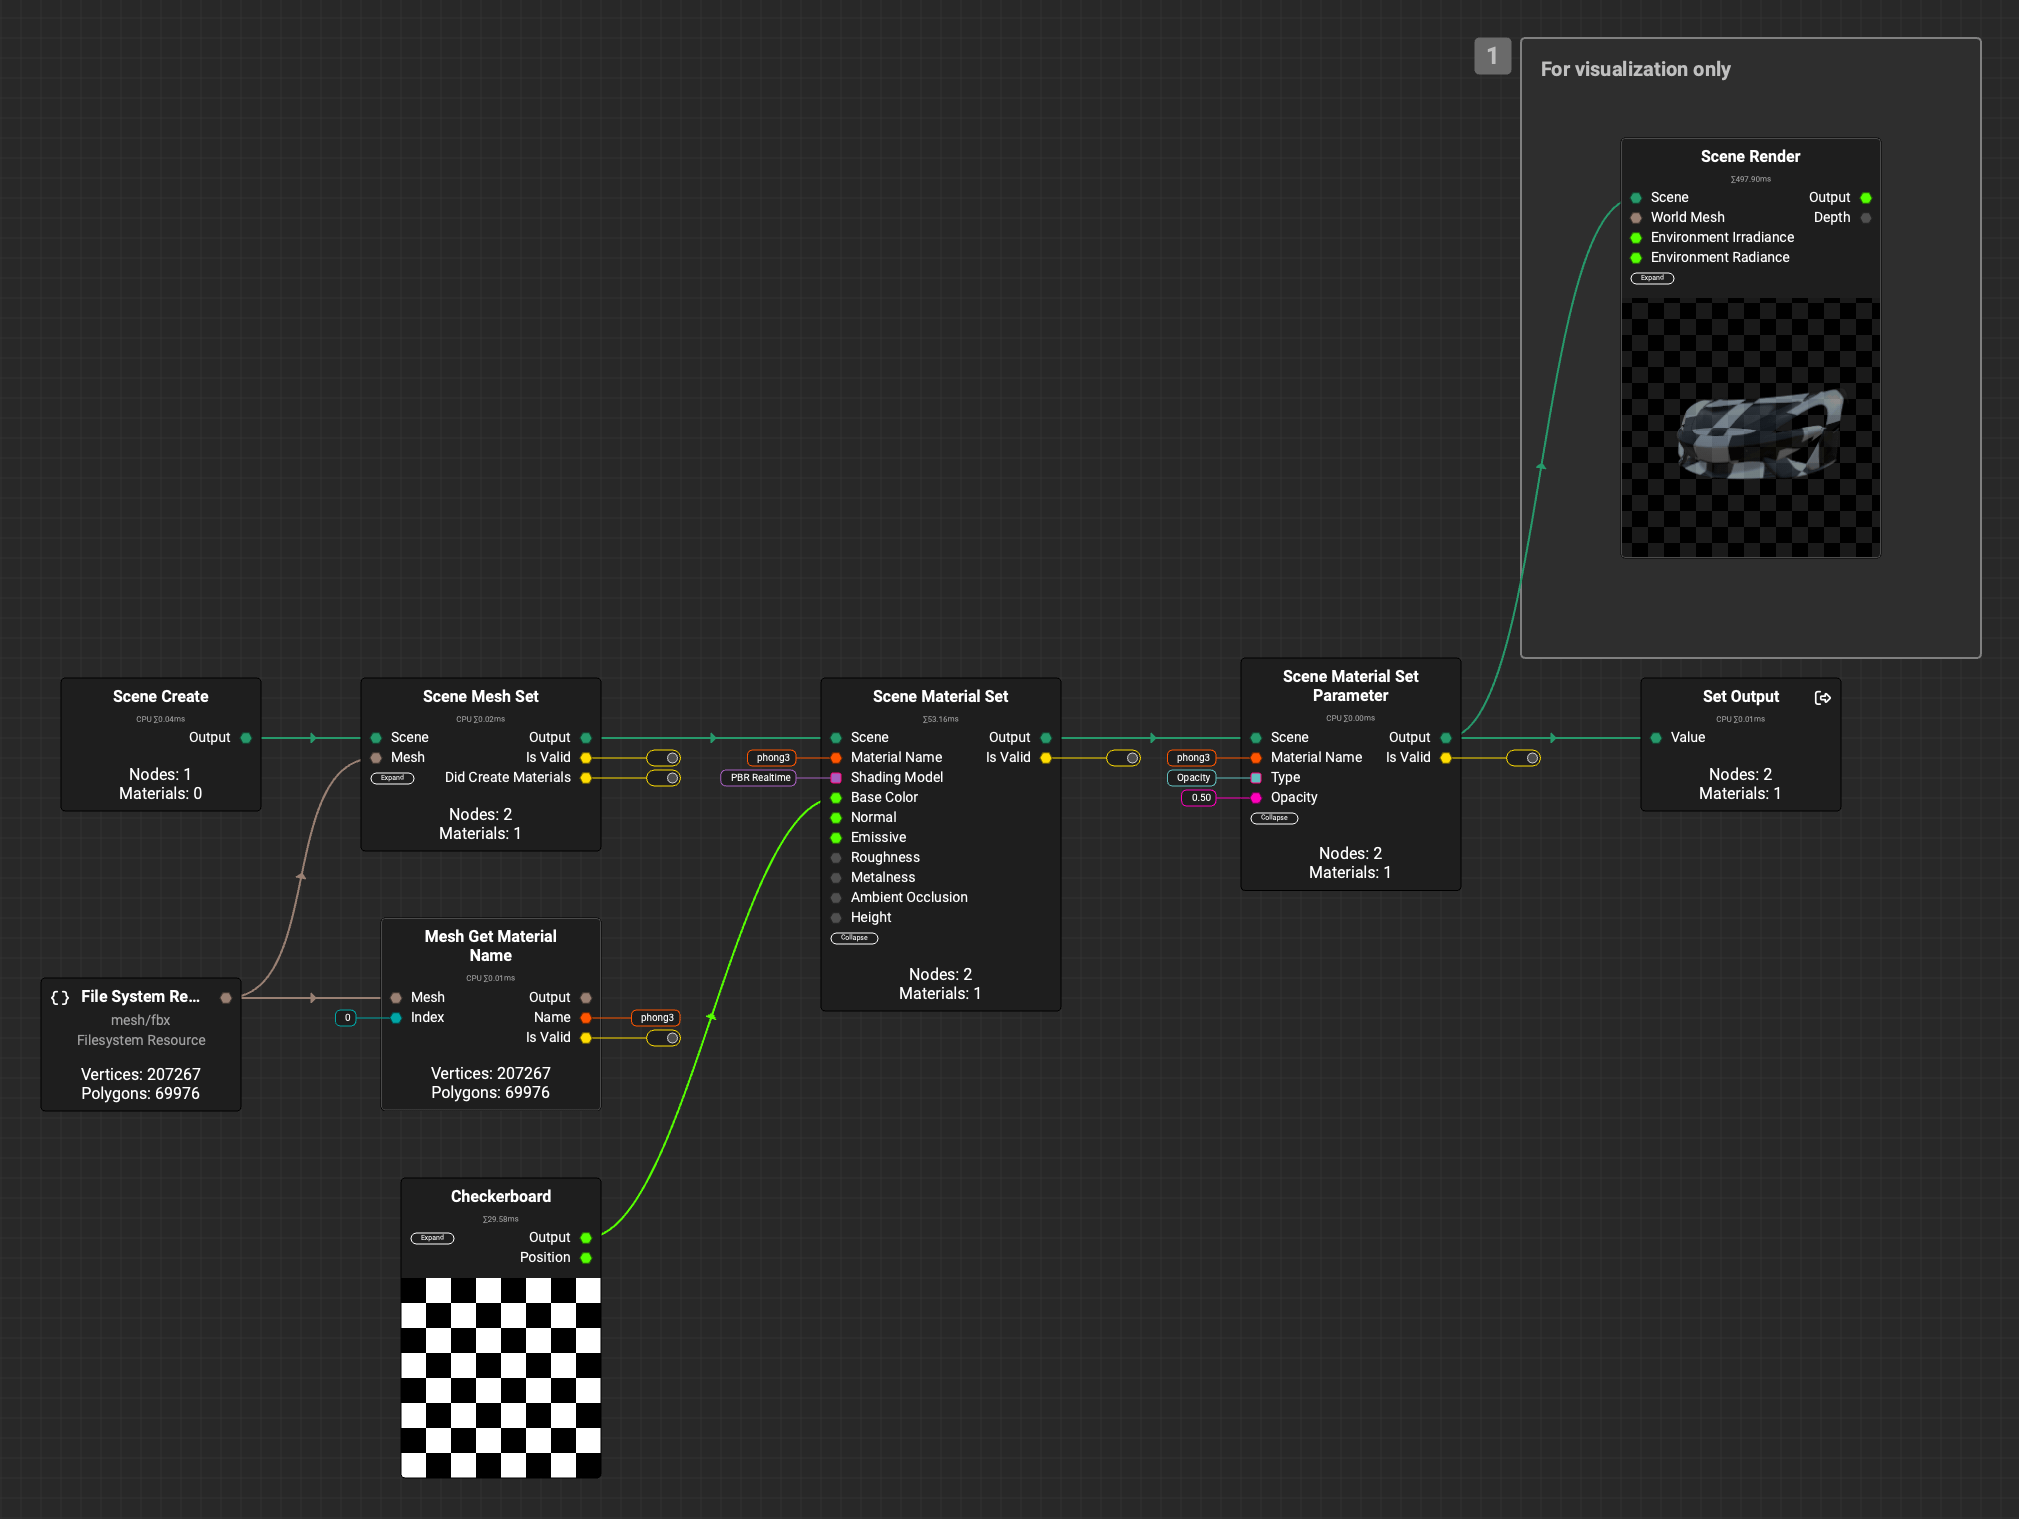
I posted a screenshot of this workflow below.
2. Exported Texture Files Written to Disk with Scene Output
After checking internally, InstaMAT creates these texture files so that it can properly bundle them with formats that support texture embedding such as FBX and USD. Currently, there isn’t a way to adjust this. However, you could create your own export templates to pack and configure output texture files. You could create specific graph outputs, then take advantage of the export template system. You can also create your own conversion nodes that can be utilized by the export system as well. Here are a few links if you’re interested.
#3 Referencing Mesh Data from an Element Graph in the Layering Project UI
Currently, in the Layering project UI, it is not possible to use data from an Element Graph to provide the “working mesh” for the project.
In this case, you can do as you mentioned and export the UV unwrapped version of the mesh by clicking the output pin of the Mesh UV Unwrap node to view it in the viewport, then click the Export Viewport Scene (floppy disk icon) button in the viewport toolbar to export it out, then in the Package Management panel, right-click the mesh and reimport it with the contextual menu. The layering project should update to show the new mesh, but new mesh maps will need to be baked.
I noticed that you’re using a Mesh Edge Ware Mask in your layering project. This mask uses the mesh’s baked curvature and tangent space normal maps. To get more accurate results when bringing layering projects into an Element Graph, I’d recommend using the Mesh Bake node to provide the project with all of the necessary baked mesh maps.
That way, if you change the input mesh, InstaMAT will automatically re-bake new mesh maps, and the layering project is able to procedurally adapt to the incoming geometry and texture it.
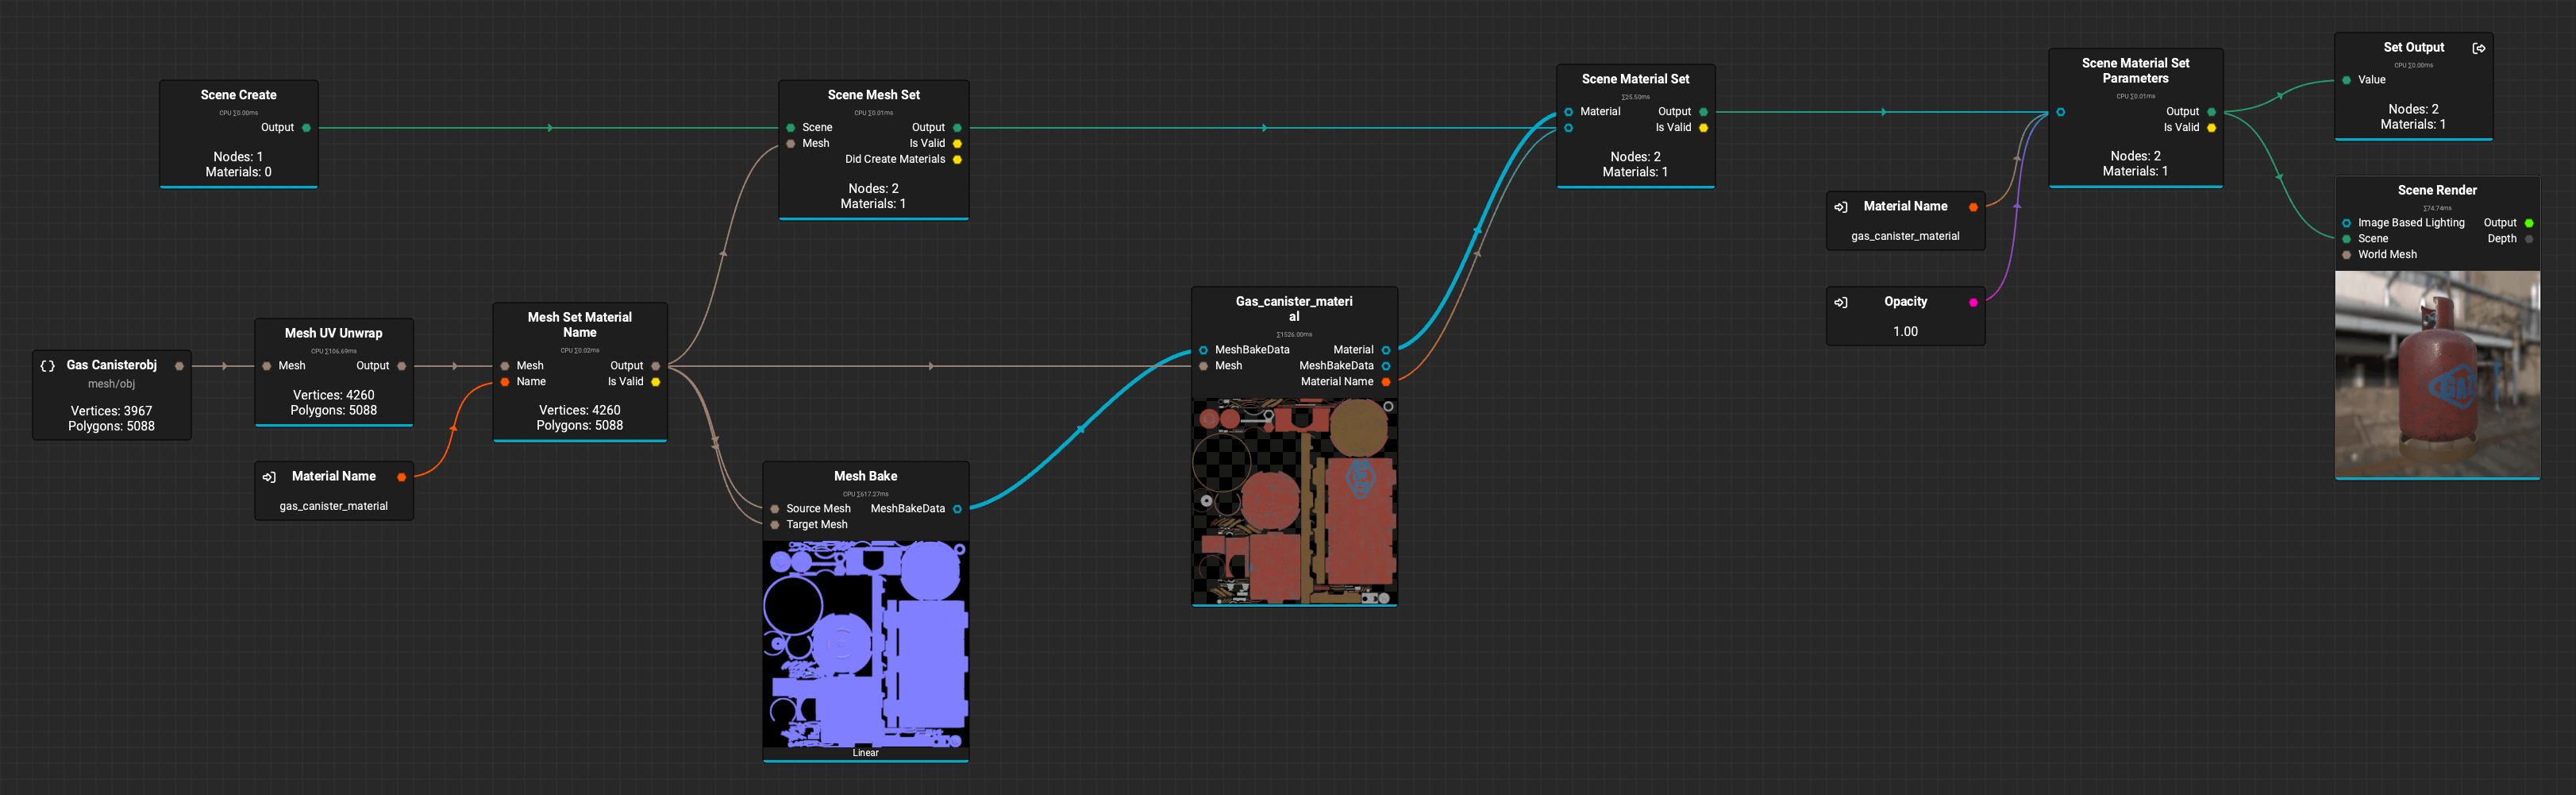
Adjustments to Graph
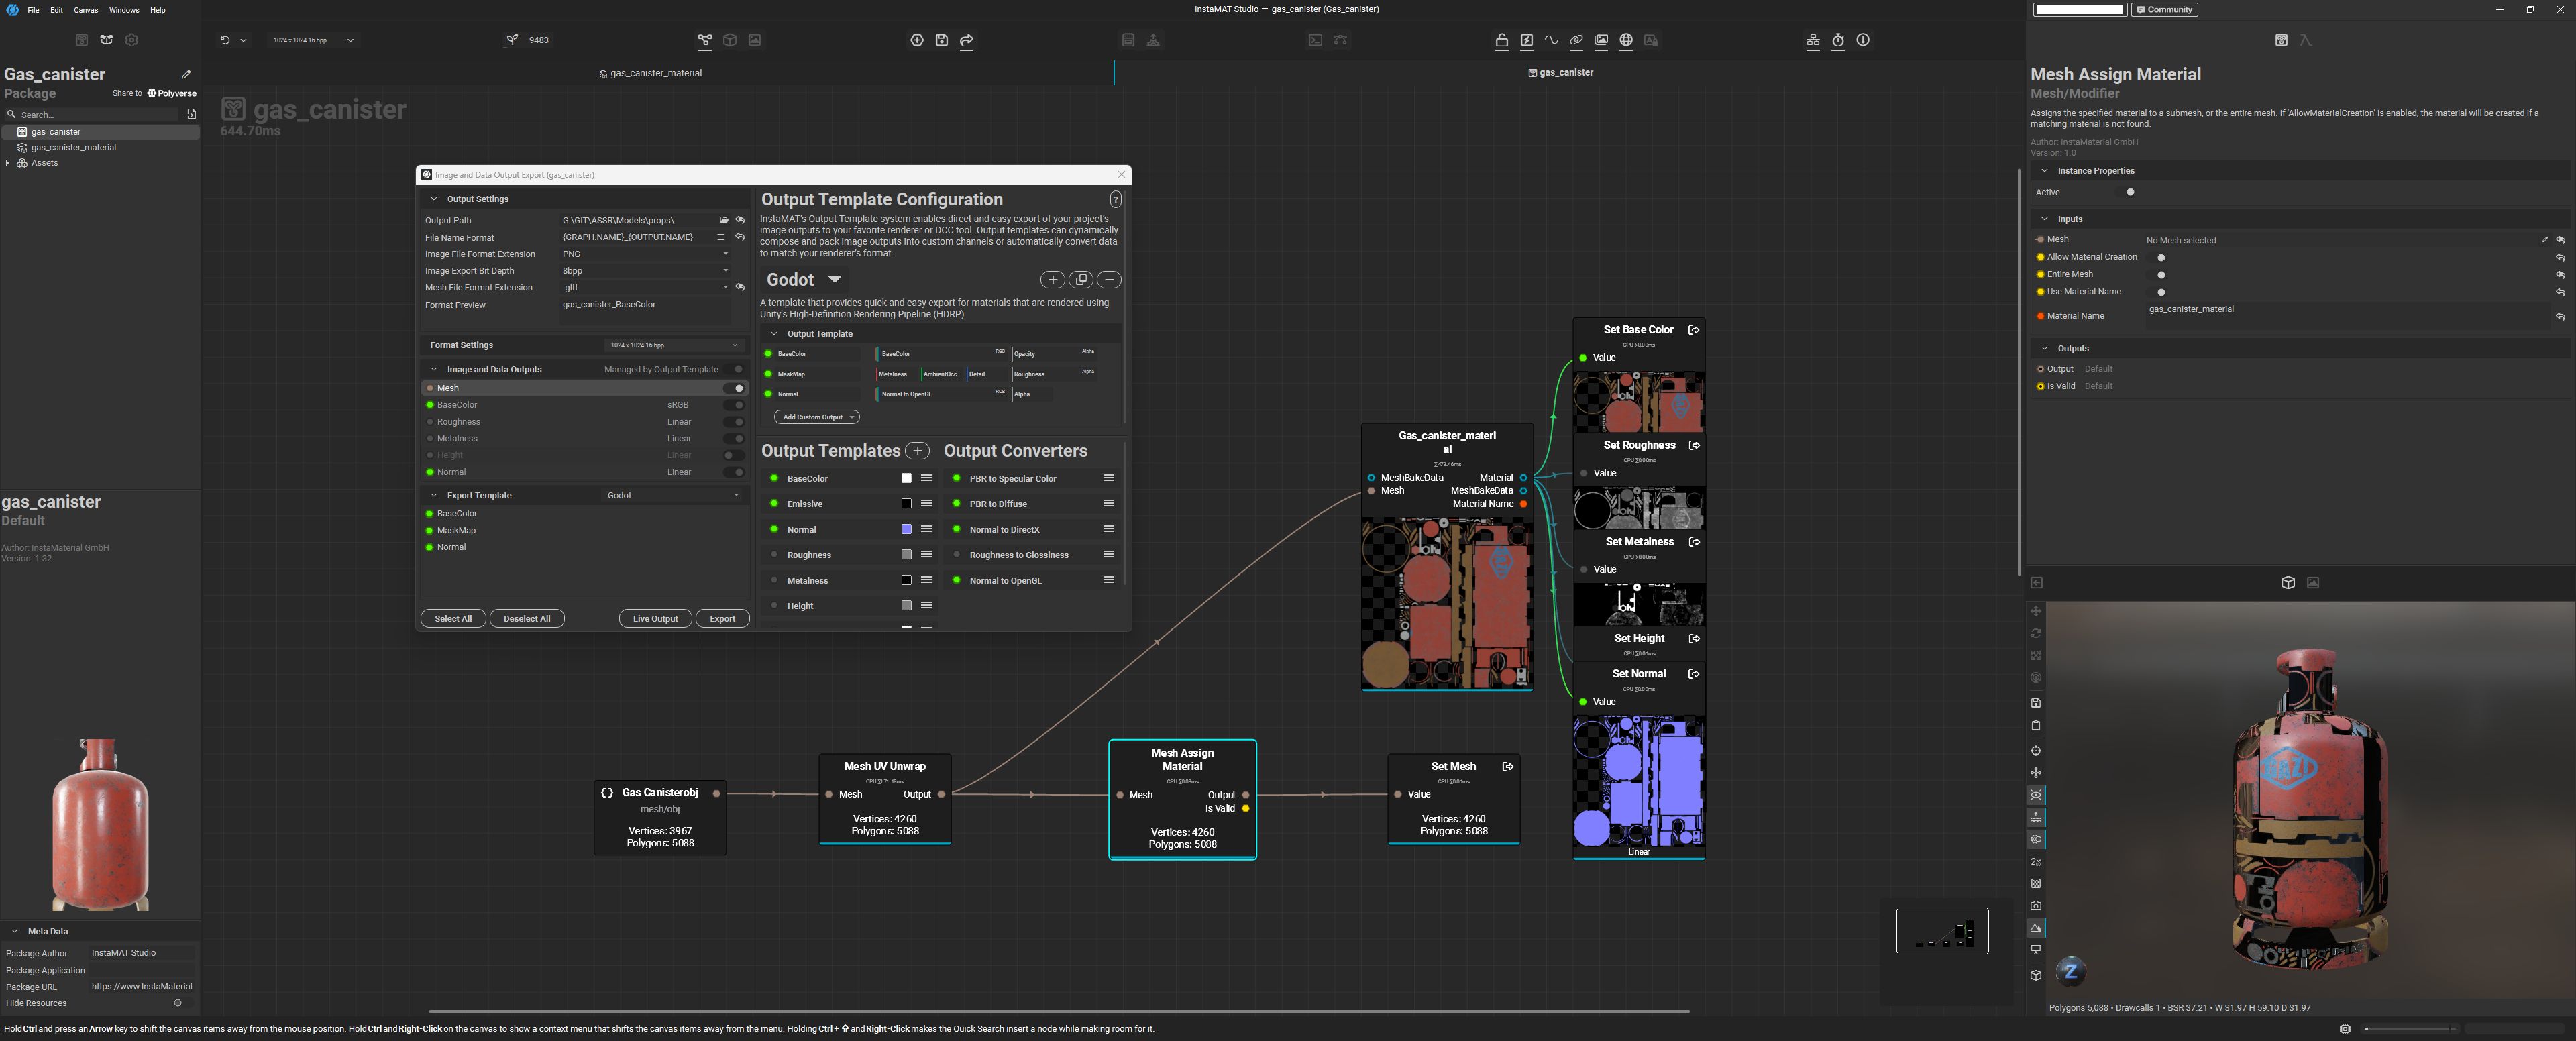
Nice use of graph inputs to ensure materials are named and referenced correctly! If you’d like to set and reference these variables privately, you could create/demote them to Local Variables so that they can only be accessed within this graph.
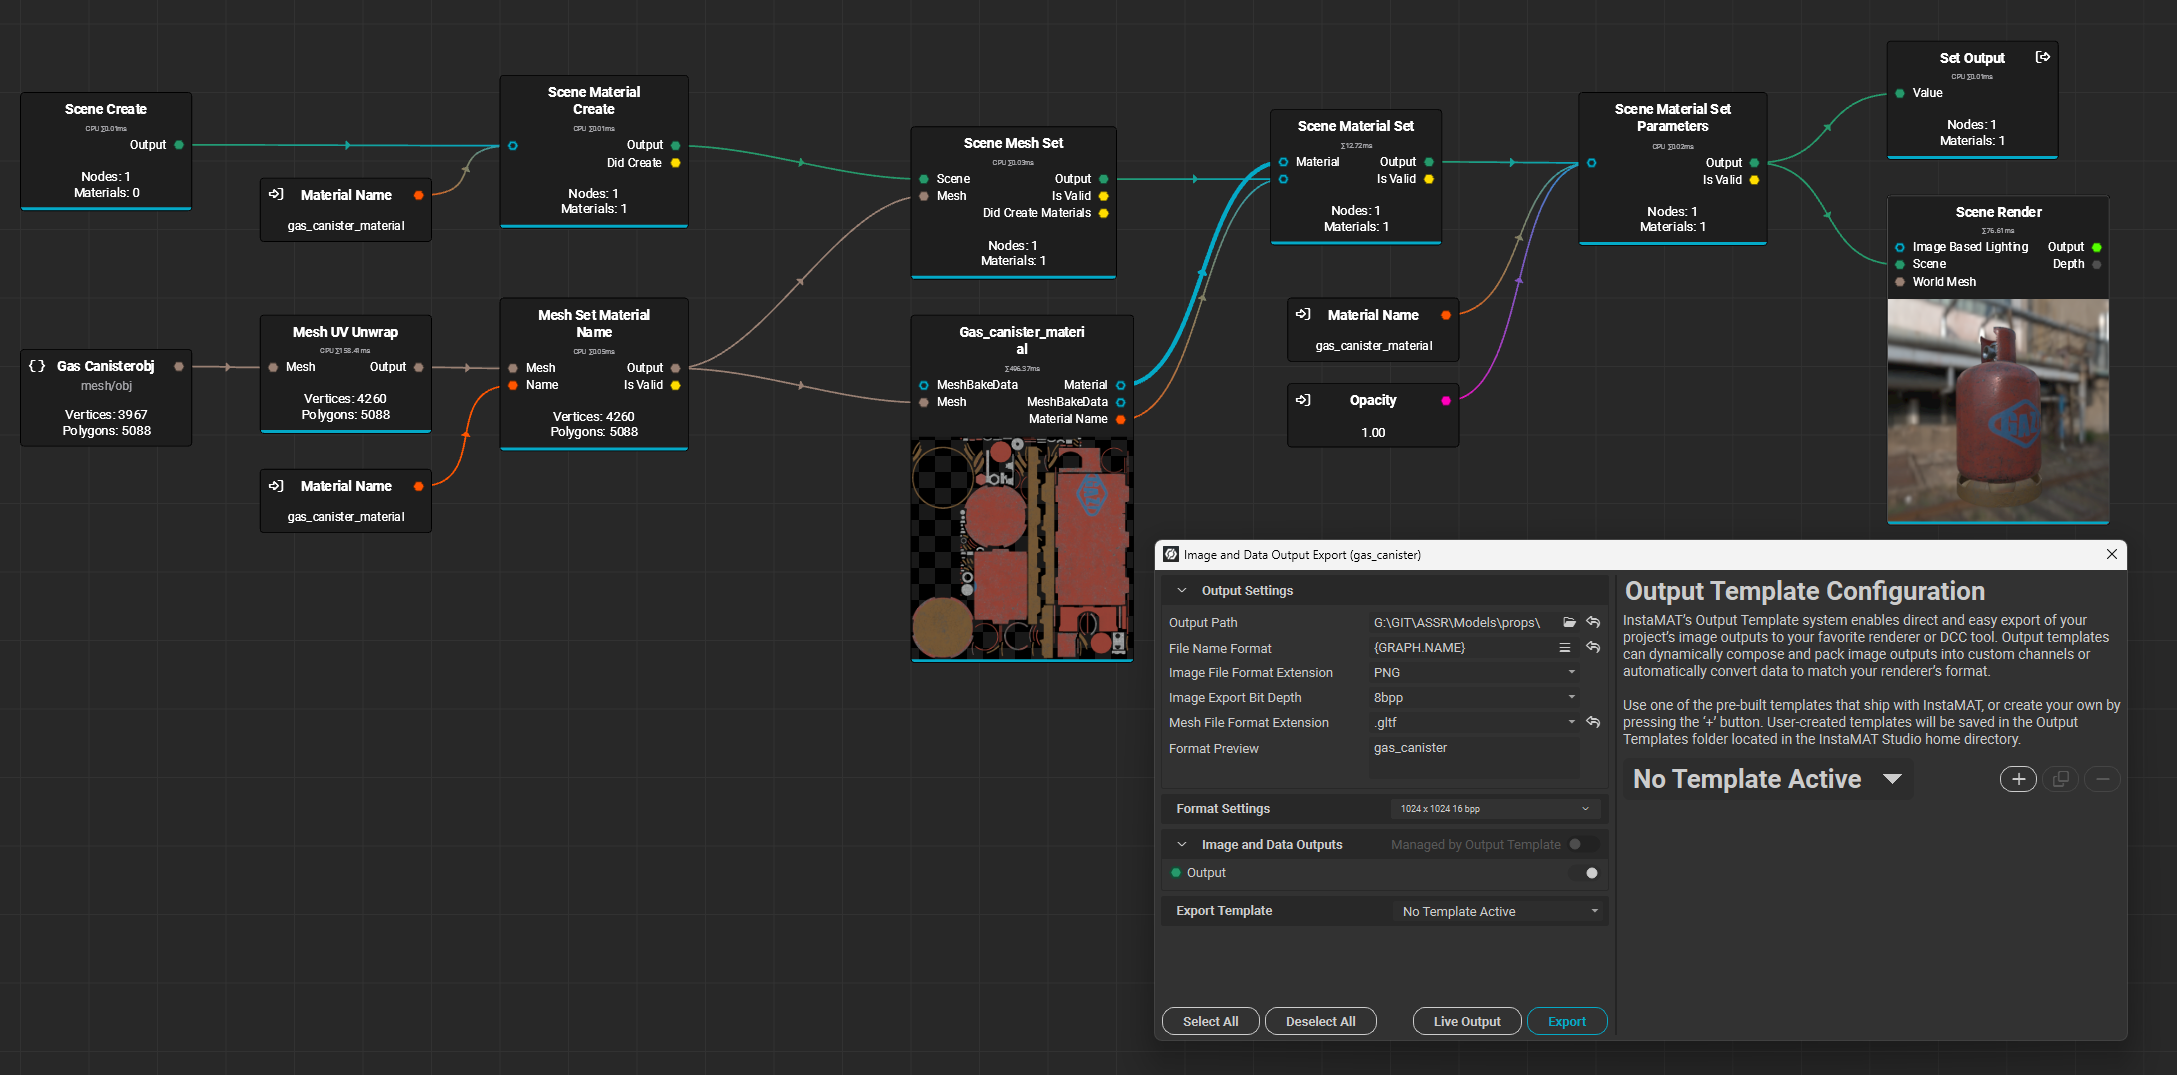
In this case, the Scene Material Create node is not necessary because you already have a material slot on the mesh, and you’re setting the name with the Mesh Set Material Name node for the first material index.
What you can do instead is use the Scene Mesh Set node, supply the Path for the mesh in the scene, then enable Create Node and Create Materials so that the material slot is taken from the mesh and automatically created for the scene.
Here is an updated IMP file if you’d like to take a look.
gas_canister_updated.IMP (498.3 KB)
As always, if you have any questions, please feel free to ask!
Thanks!