I’m working with meshes from Blender and if I export a mesh to glb, gltf, fbx, or usd I seem to always end up with one material I can’t properly apply textures to. I’ve got a fairly simple bottle mesh with a label as an example I’d be happy to send if someone wants to DM me.
To be clear, if I use the Blender integration it works fine but working directly in instamat-studio is a bit easier.
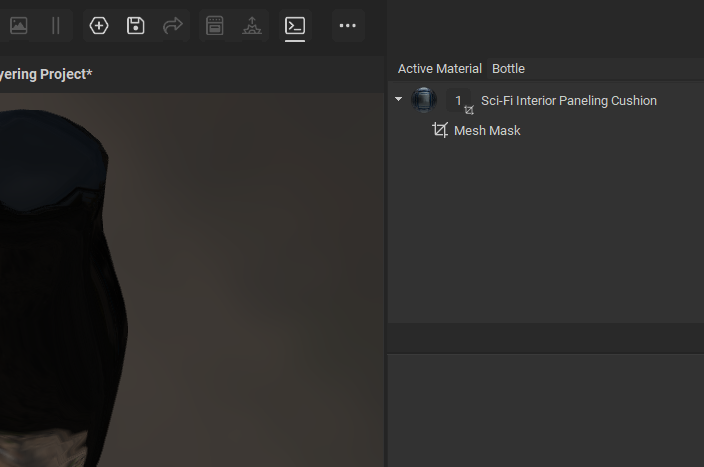
You need to mask the materials. So, put each material on a different layer and then use mesh ID mask for example to mask out where it should be applied.
If you use material unified layering, you can still paint across all materials.
I recognize all of these as words, but don’t know how to do that.
Up until now I’ve been making meshes in blender, importing them into Godot and assigning textures there. That workflow is pretty limiting, and just playing with the demo-chest I really can see how much more powerful instamat is, if I can just figure out a workflow with it.
Sorry, forgot my expectation. My expectation would be that I can assign different materials in instamat studio the way I can in blender. What I get is one material is assignable in studio, and the other is just a shiny output. While I can see the material in the material stack, it doesn’t seem to apply.
(bottle is the material that isn’t working, label is the material that does work)
From what I can see, the bottle part of the mesh does not have any unwrapped UV coordinates and both the “Bottle” and “Label” materials are assigned to both meshes. To fix this, the bottle mesh’s UVs must be unwrapped and the “Bottle” and “Label” materials must be assigned to their respective sub meshes.
I’ve attached an updated version of the IMP with an adjusted bottle mesh and layering project.
I’m glad to know what’s wrong, the problem is actually solving it.
No matter what I try, I keep getting the same result. Is there some documentation that will tell me how to get to the “updated bottle” like you have from my blend?
I’m really sorry for wasting so much time on this, but I’ve checked the instamat documentation, I’ve checked for any youtube videos on the topic, I’ve tried to take what you two have said and figure out how to do that in the blender documentation, but I’m just not finding anything that works. I’m sure it’s just me doing it wrong, but I can’t find how to do it right.
I’d recommend to learn more about UV unwrapping and material assignment. To apply textures to an asset, the UVs of all of the meshes must be what is called “unwrapped”. This creates a flat representation of the model so that textures can be applied to the surface. In this case, the label for the bottle was unwrapped, but the bottle was not. Therefore textures could not be applied to the bottle.
Furthermore, material sections can be assigned to different submeshes or parts of a mesh. For the multi-material workflow, this makes it possible to have multiple UV layouts for different pieces of the mesh. Material sections are also called texture sets or just materials. For a simple asset like this, it is possible to have one material section for the entire asset “including the bottle and label” however, it appeared that both material sections were assigned to both pieces.
For the Bottle Updated asset, I had assigned a material section to each piece “bottle” and “label” respectively. I then unwrapped the UVs of each piece. This makes it so that in a layering project, I can use the Multi-Material mode when creating the project to create a layer stack for each material section “bottle” and “label”. However it’s also possible to use the Multi-Material (Unified) mode to only use one layer stack for both material sections and instead use masks to distinguish where to texture the asset.