I’m happy to help clarify wherever I can, @baroba. 
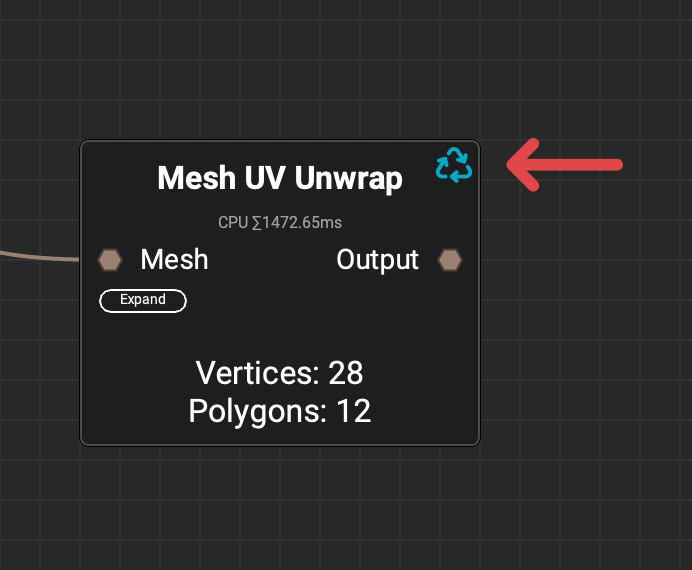
Based on the portion of the output log you’ve posted above, it looks like you’ve clicked on the output pin of the node before the unwrap processing had completed.
If a node is still processing, it will display an icon to the right of the node name, indicating that it is still in progress. Once it has completed processing, you should be able to click the output pin again to view the resulting mesh in the 3D viewport.
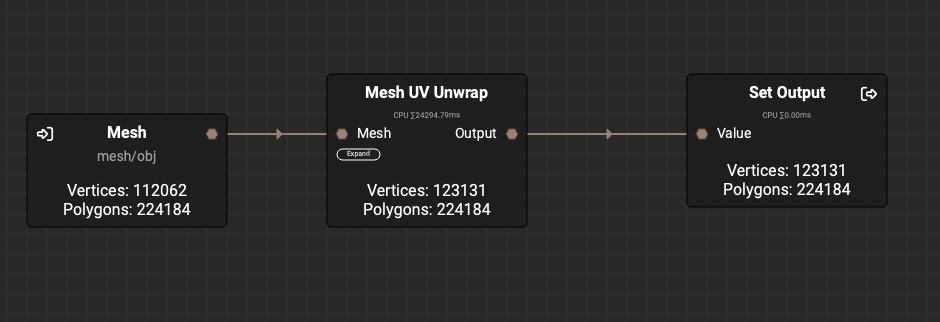
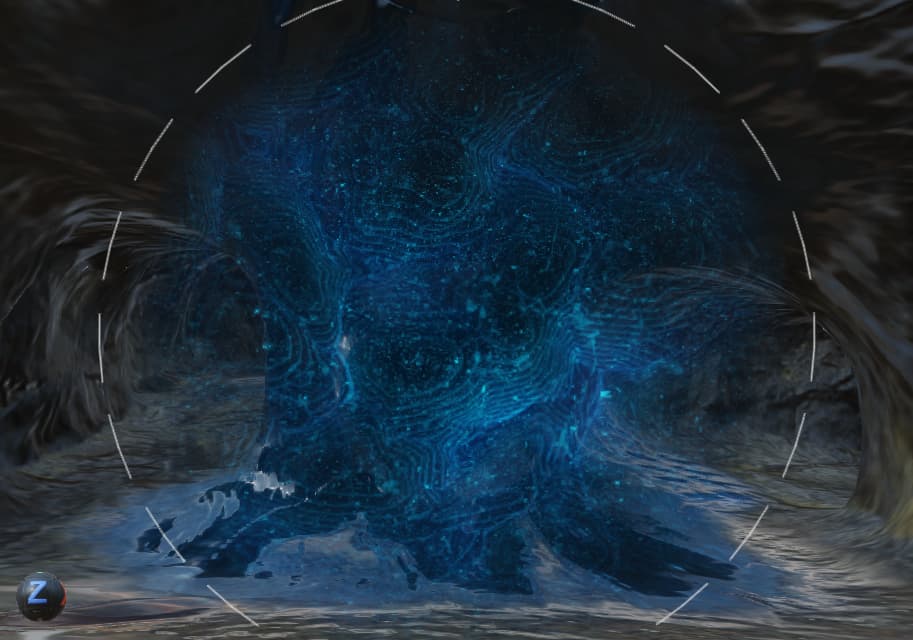
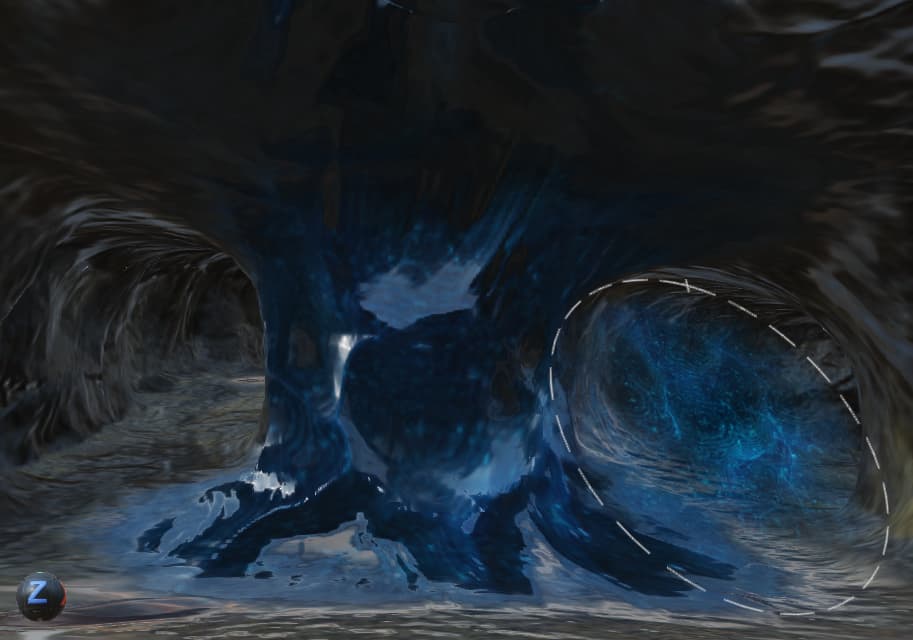
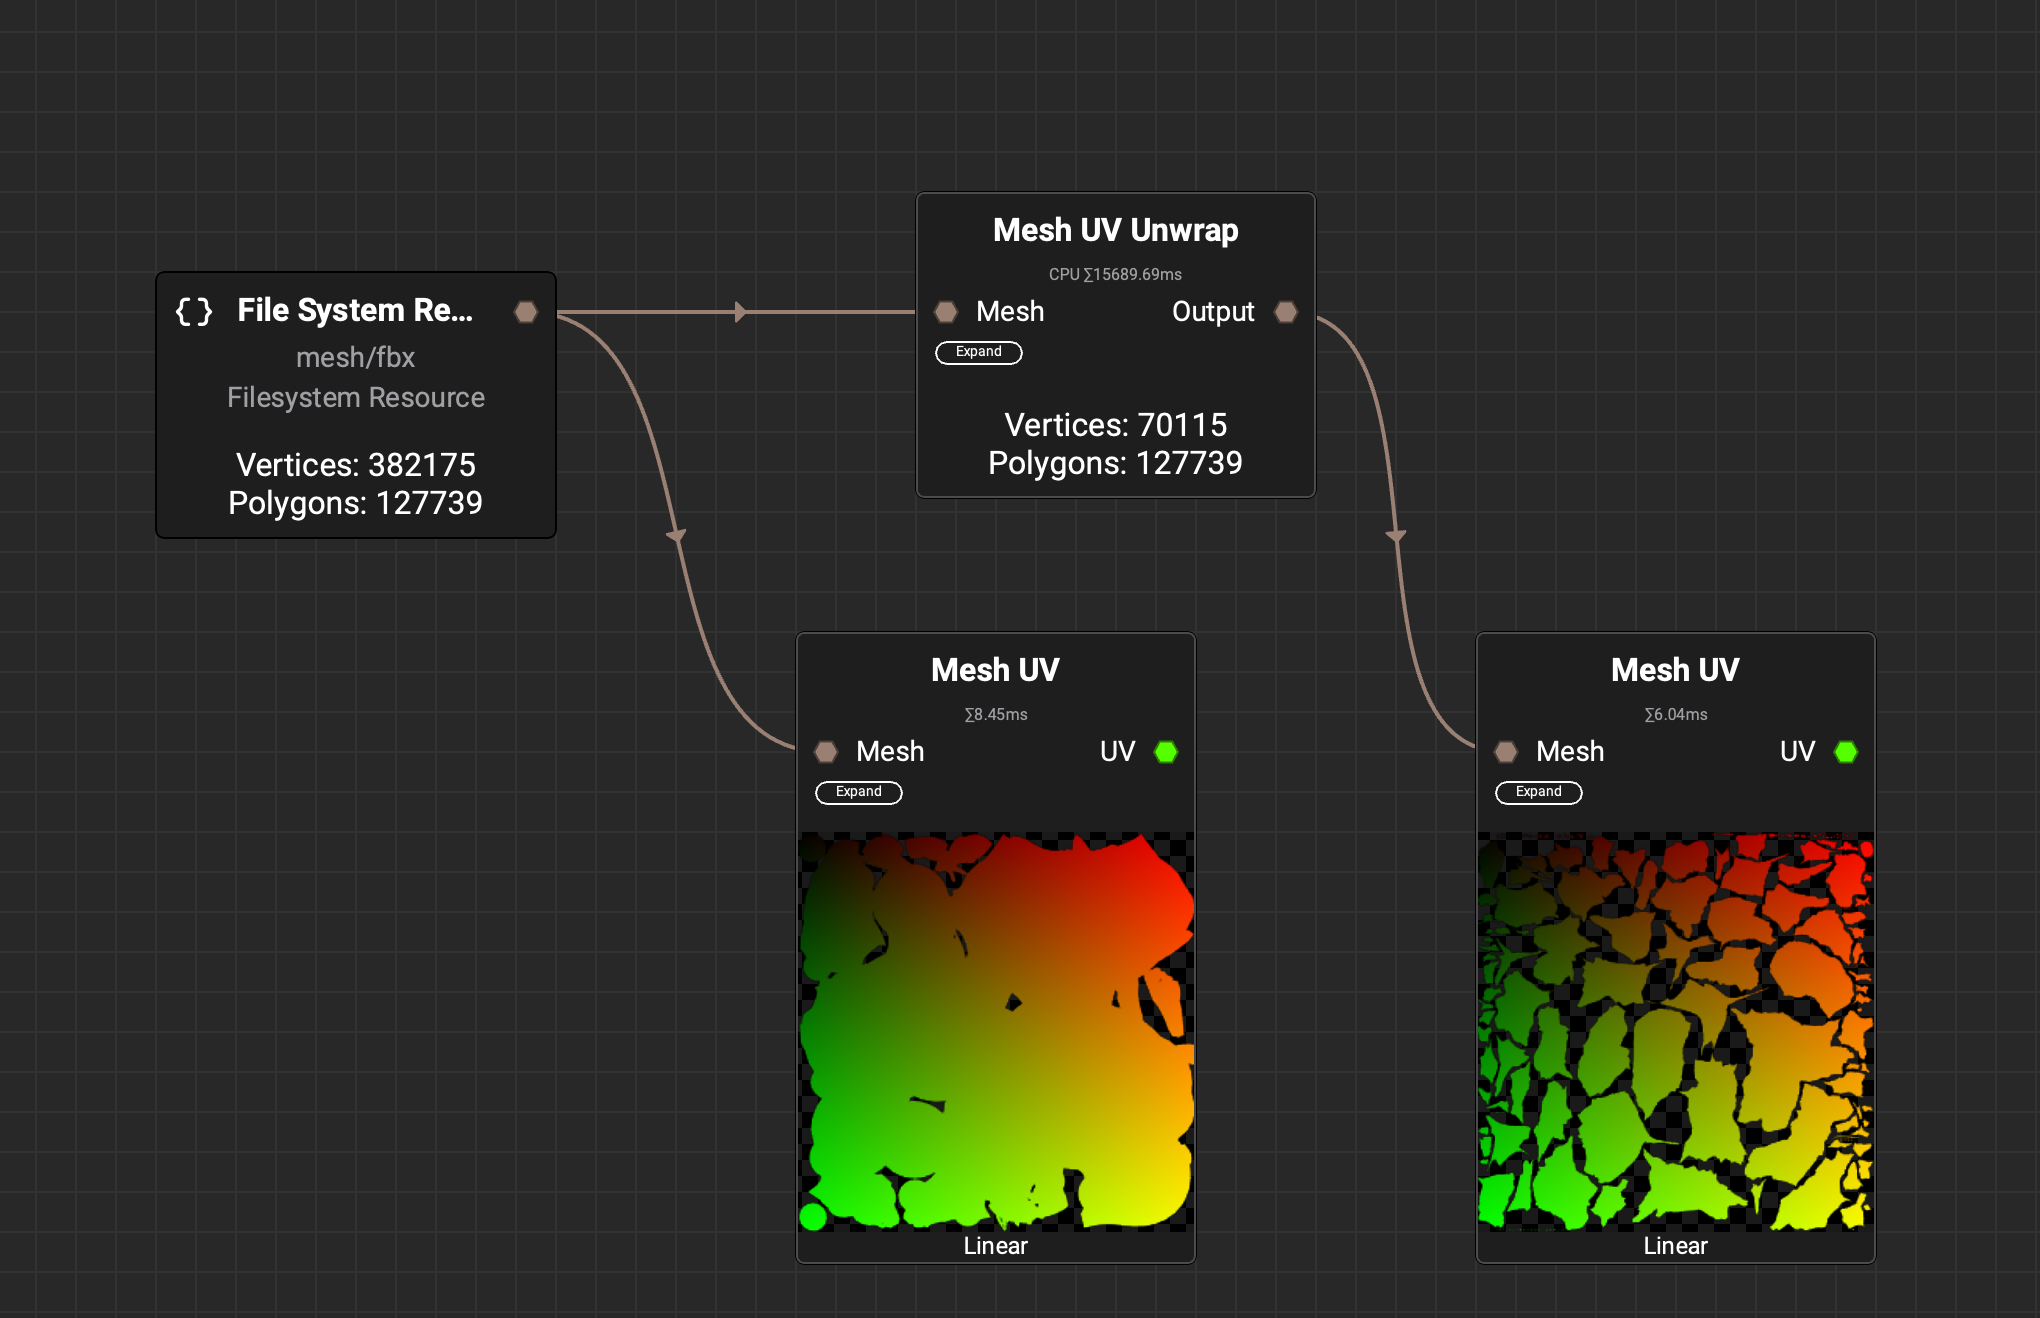
The mesh should not change visually in the viewport after running it through the Mesh UV Unwrap node. However, you can view the UVs of the model in the graph using a Mesh UV node. You can also view the UVs on the mesh in the 3D viewport using the abovementioned method in my previous post.
Here’s an example of looking at the UVs before and after the Mesh UV Unwrap node.
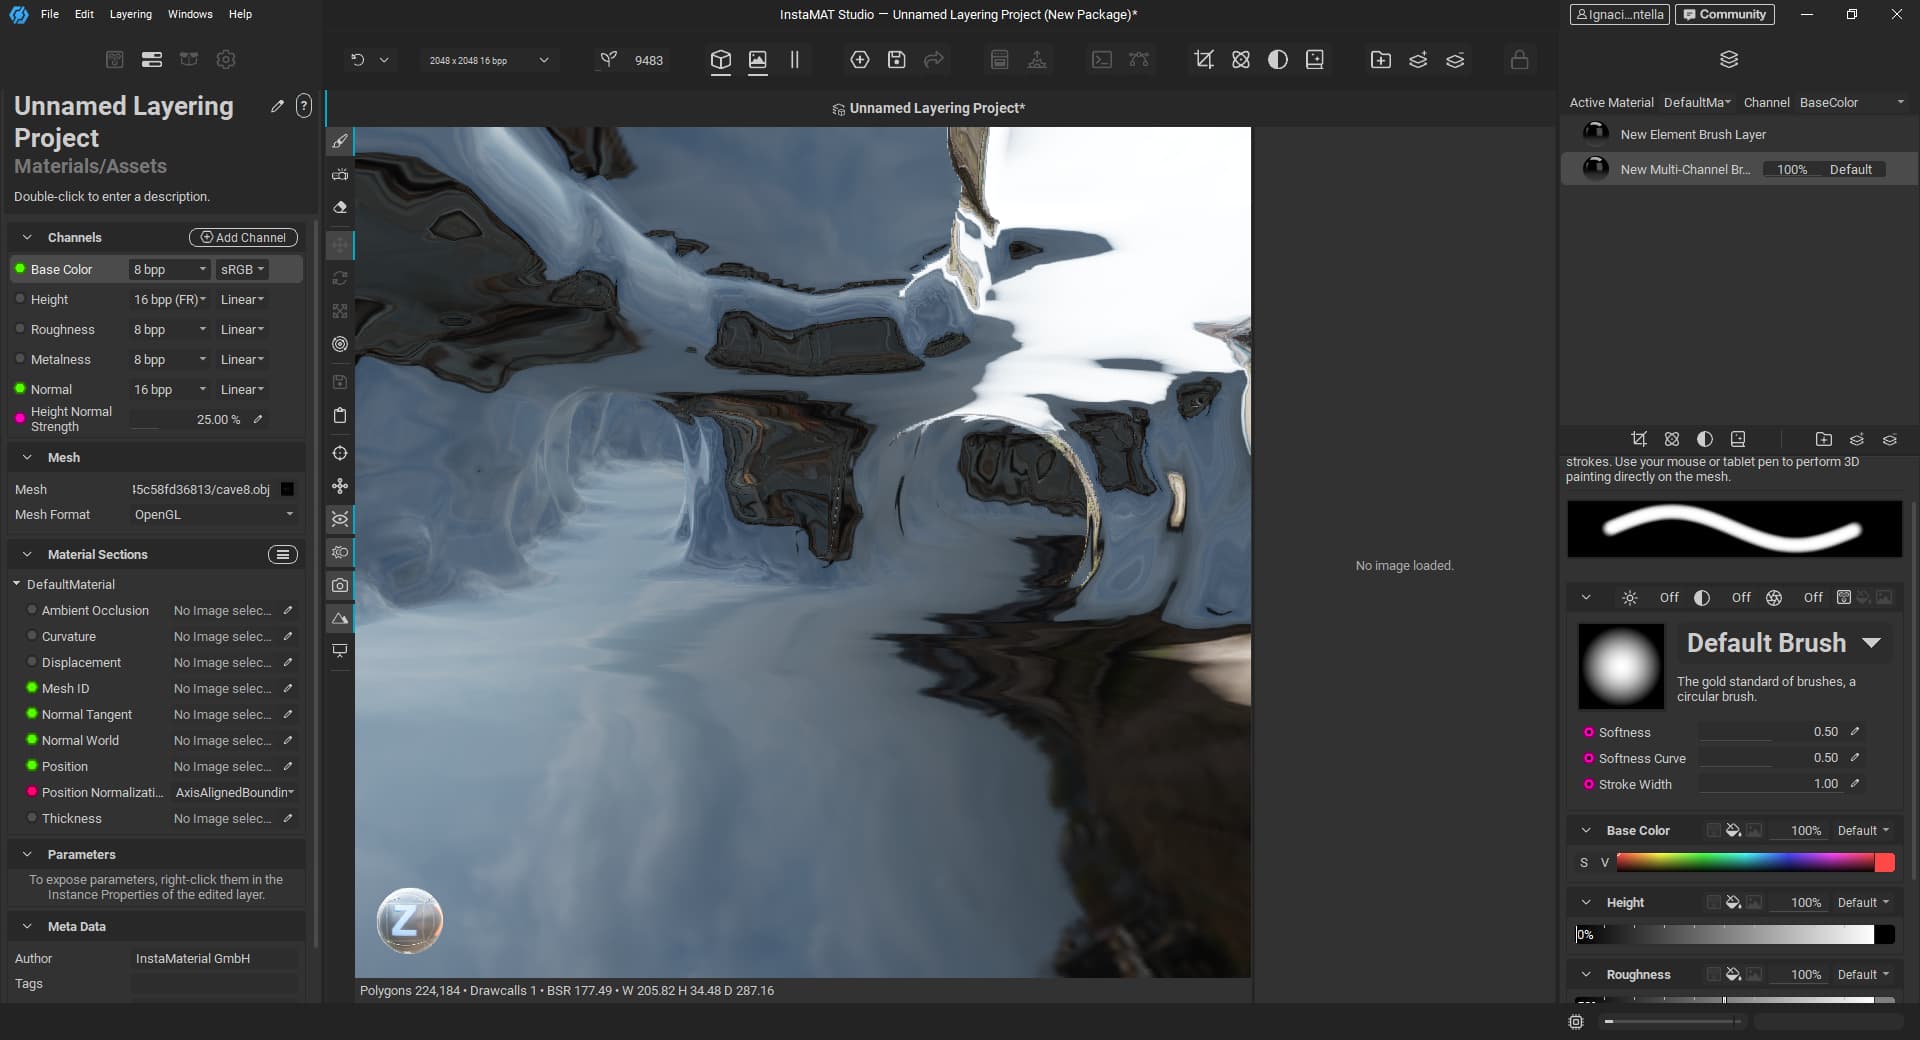
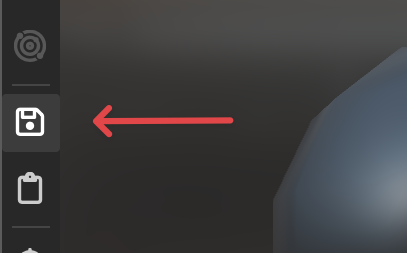
What you could do is use an Element Graph project to prepare and unwrap a model, then save that unwrapped version of the mesh to disk, and use it in a Layering project. This way, you can use InstaMAT to do both the mesh preparation and the texturing stages.
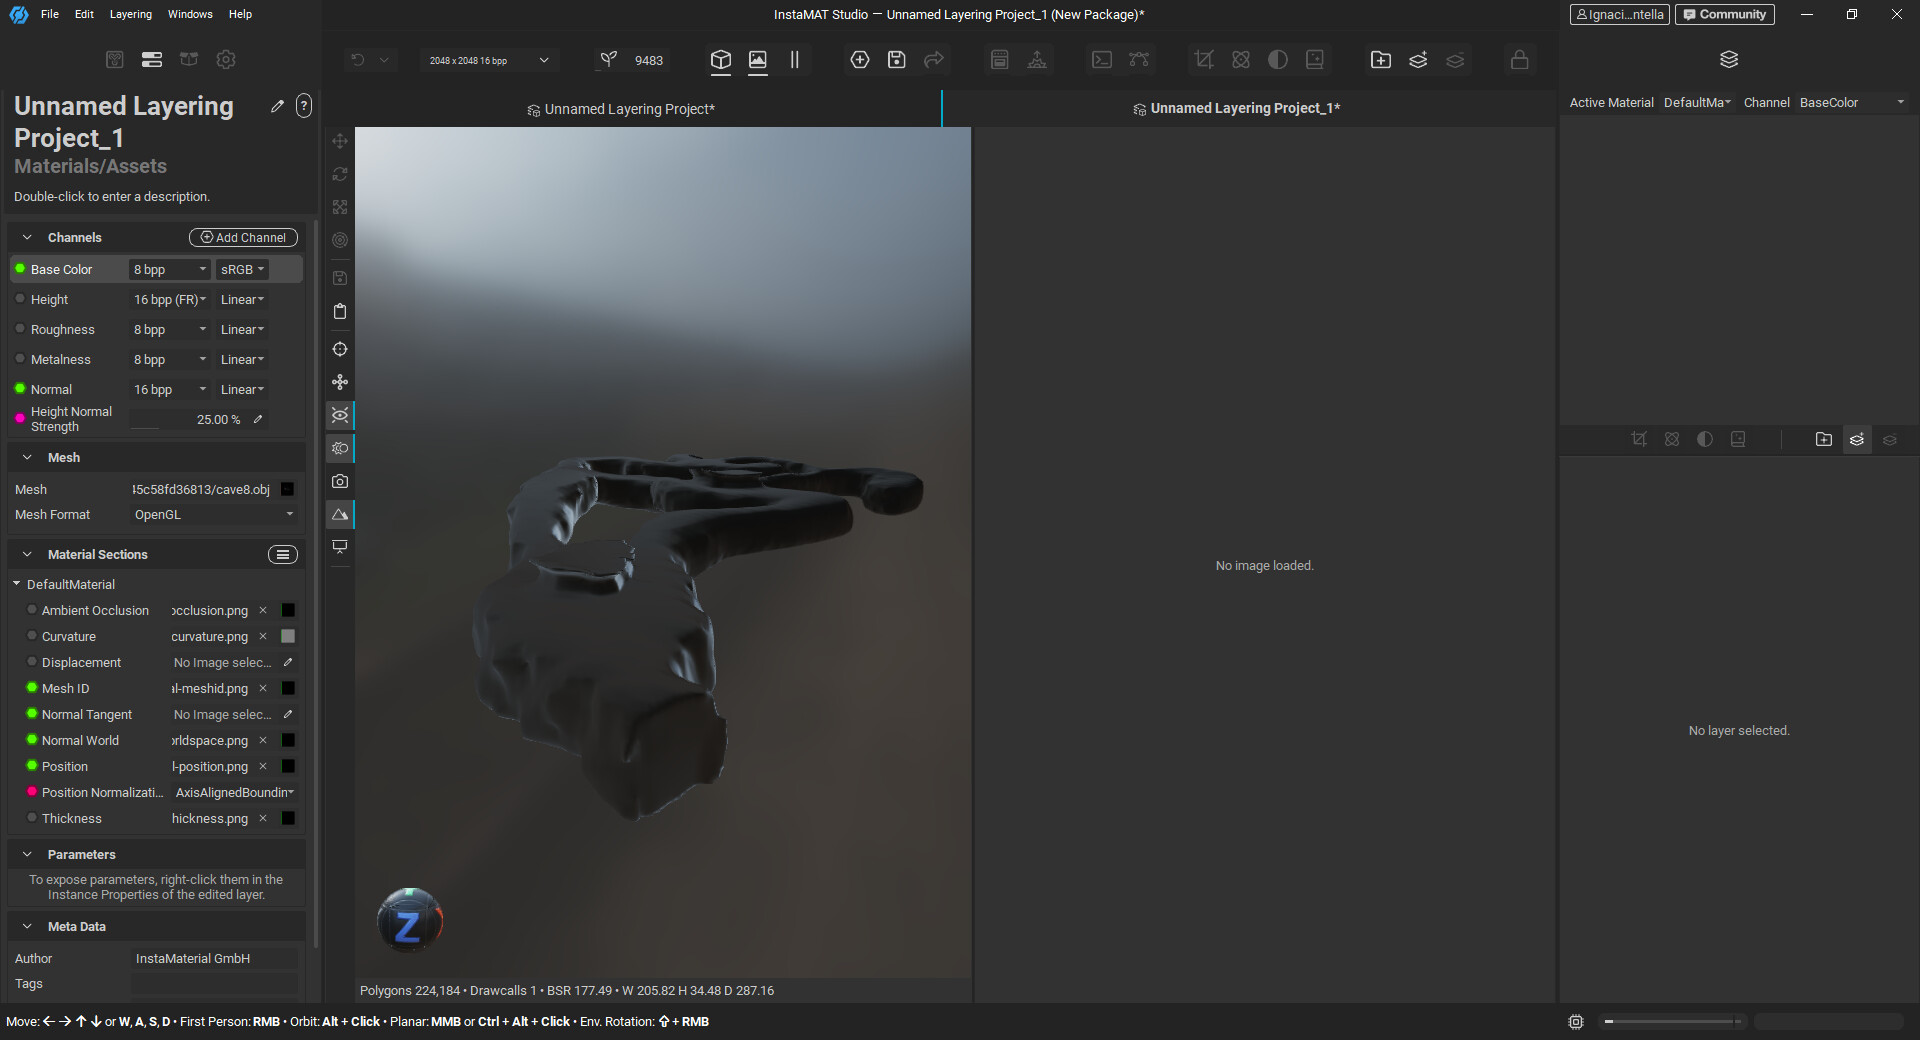
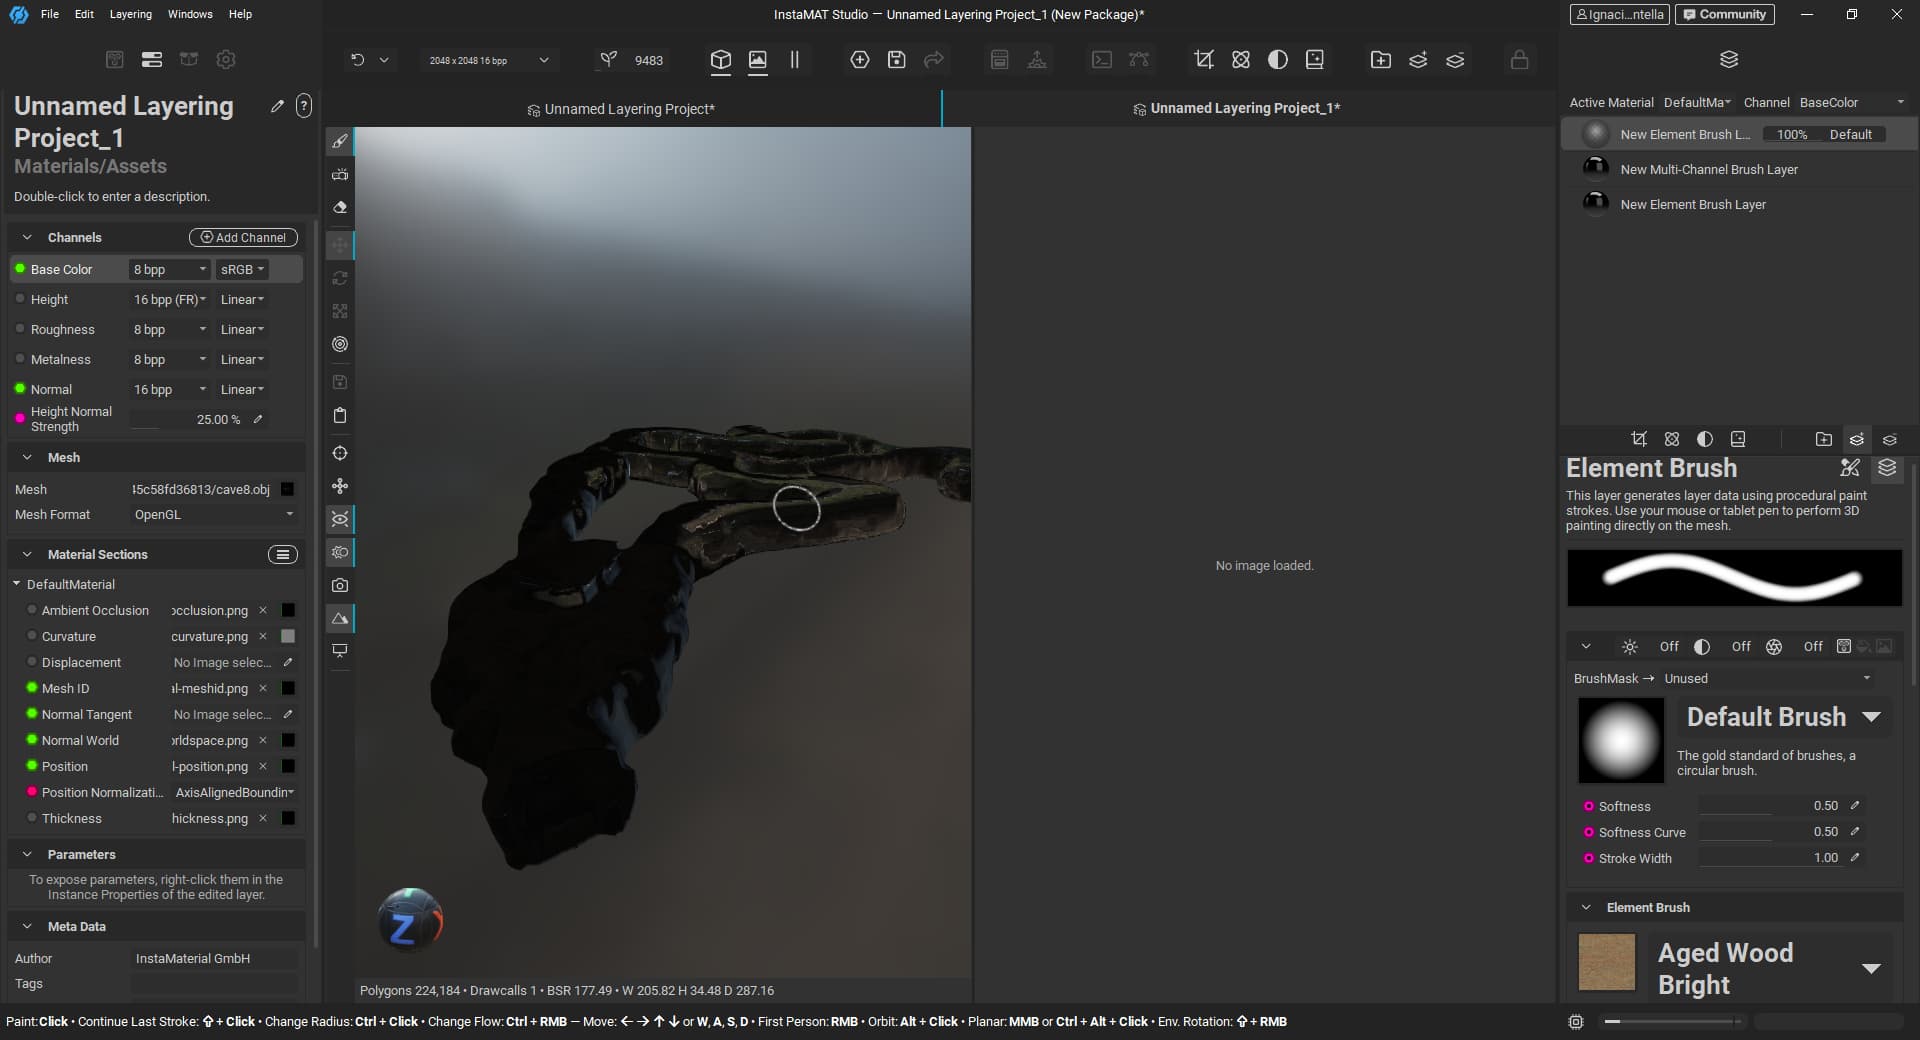
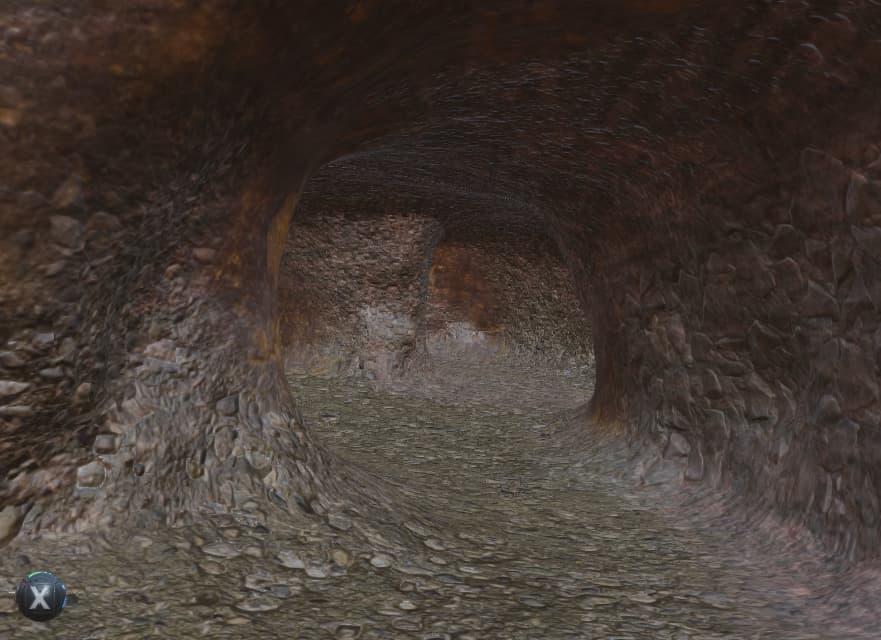
Regarding your PS, you can press the C key to cycle through the channels in the 3D viewport. Make sure you’ve focused/clicked on the viewport before pressing the hotkey.
Here’s an example of doing this in a Layering project.
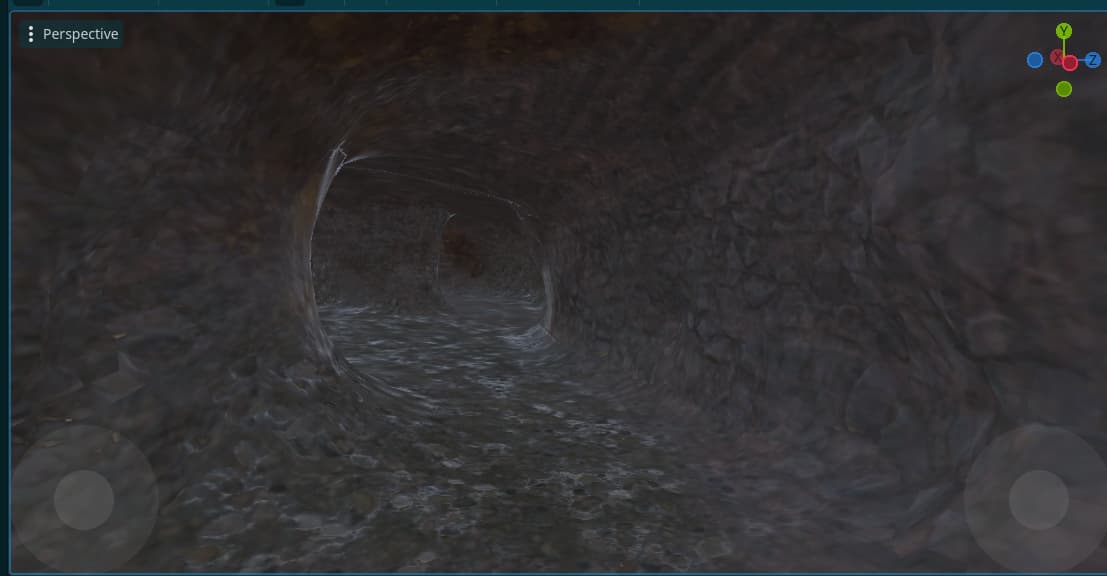
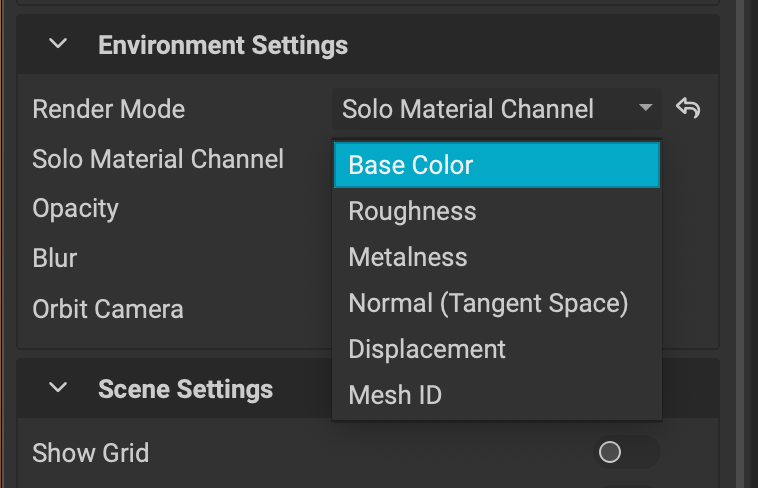
In addition, you can also view a particular channel by selecting it in the Viewport Settings panel. After setting the Render Mode to Solo Material Channel, a dropdown will appear allowing you to choose which channel to view in the 3D viewport.
Have you had a chance to take a look at our YouTube channel? There’s a Getting Started playlist that covers a variety of topics that can get you up and running quickly. I’ll leave a link to that playlist here.
I didn’t want to overload you with too much information, but what’s pretty great is that once you texture something using a Layering project in InstaMAT, you can use that same project to texture additional meshes by dragging the layering project into an Element Graph. This way, you can set up a workflow that can process (UV Unwrap/Optimize/Bake) and texture an asset with one graph. You can see this in action near the end of the InstaMAT’s Layering Fundamentals: A Deep Dive into Layering Concepts video.
I hope this helps, and if you have any further questions please don’t hesitate to ask.
Thanks!