Welcome to the community @Chunck - it’s great that you’re having fun with MAT.
In your build, the 2D gizmos are not available. We did not manage to wrap up all tasks for it to deliver a smooth experience for the first release, so we decided to defer until after the first release. Priority was set on the viewport gizmos. One of the reasons we lowered the 2D editing priorities is that anything done particularly to the UVs typically does not scale well, meaning it does not translate to other meshes. We really want to get the industry to use scalable workflows for assets instead of relying on baking in data on UVs or similar. In the release build, there is a popup informing that the 2D features in layering will be available soon if you click it.
With that being said, you will soon be able to do easy positioning of transform and painting in 2D. An example is the Transform node, it already implements the gizmo.
A more scalable workflow to do what you want to achieve might be this.
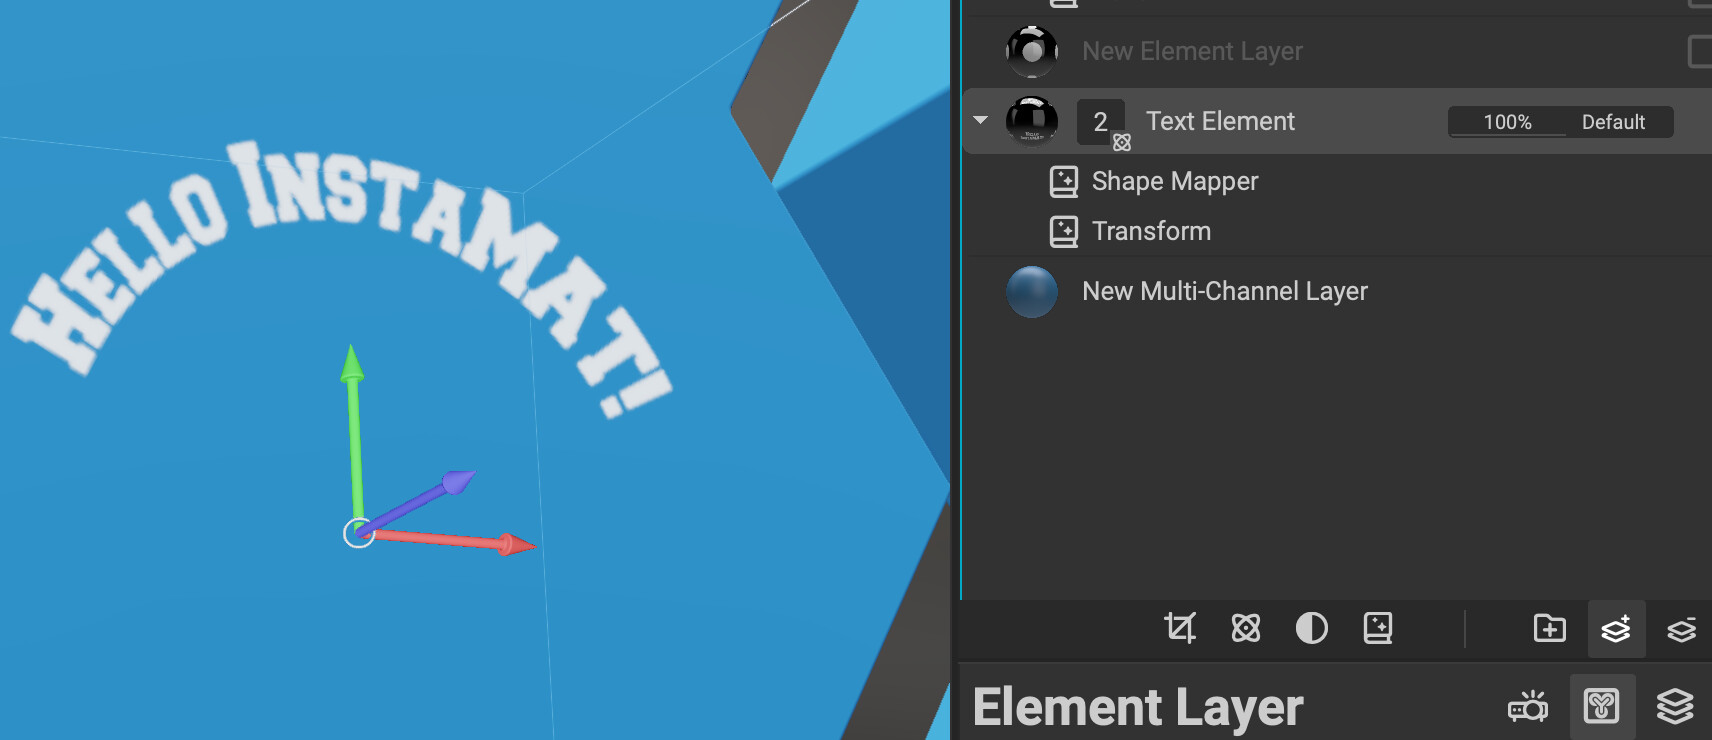
I created a “Element Layer” and added the “Text” node.
I mapped the
Output to
BaseColor and also map the internal mask:
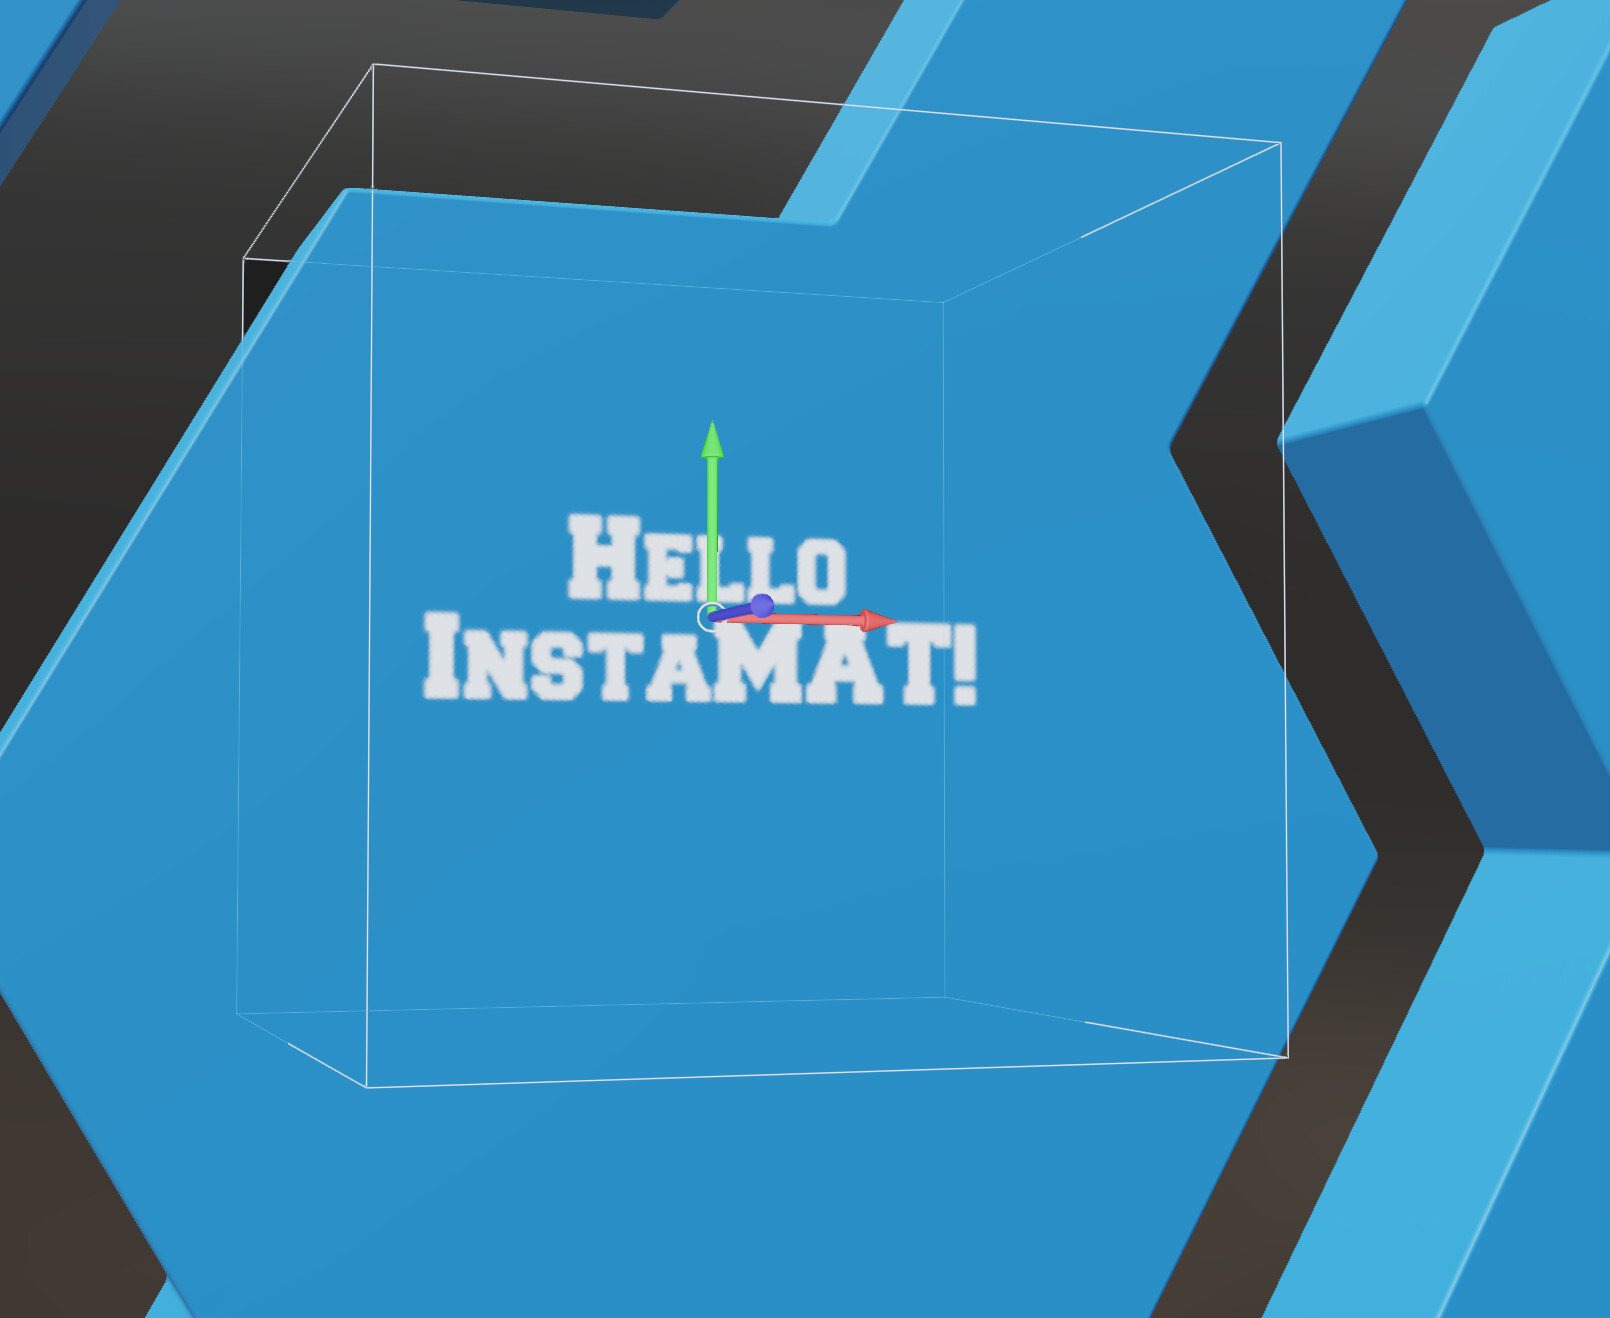
The layer project type is set to decal, this makes 3D positioning very accurate and easily translates to other meshes as it’s position is anchored in your meshes 3D volume.
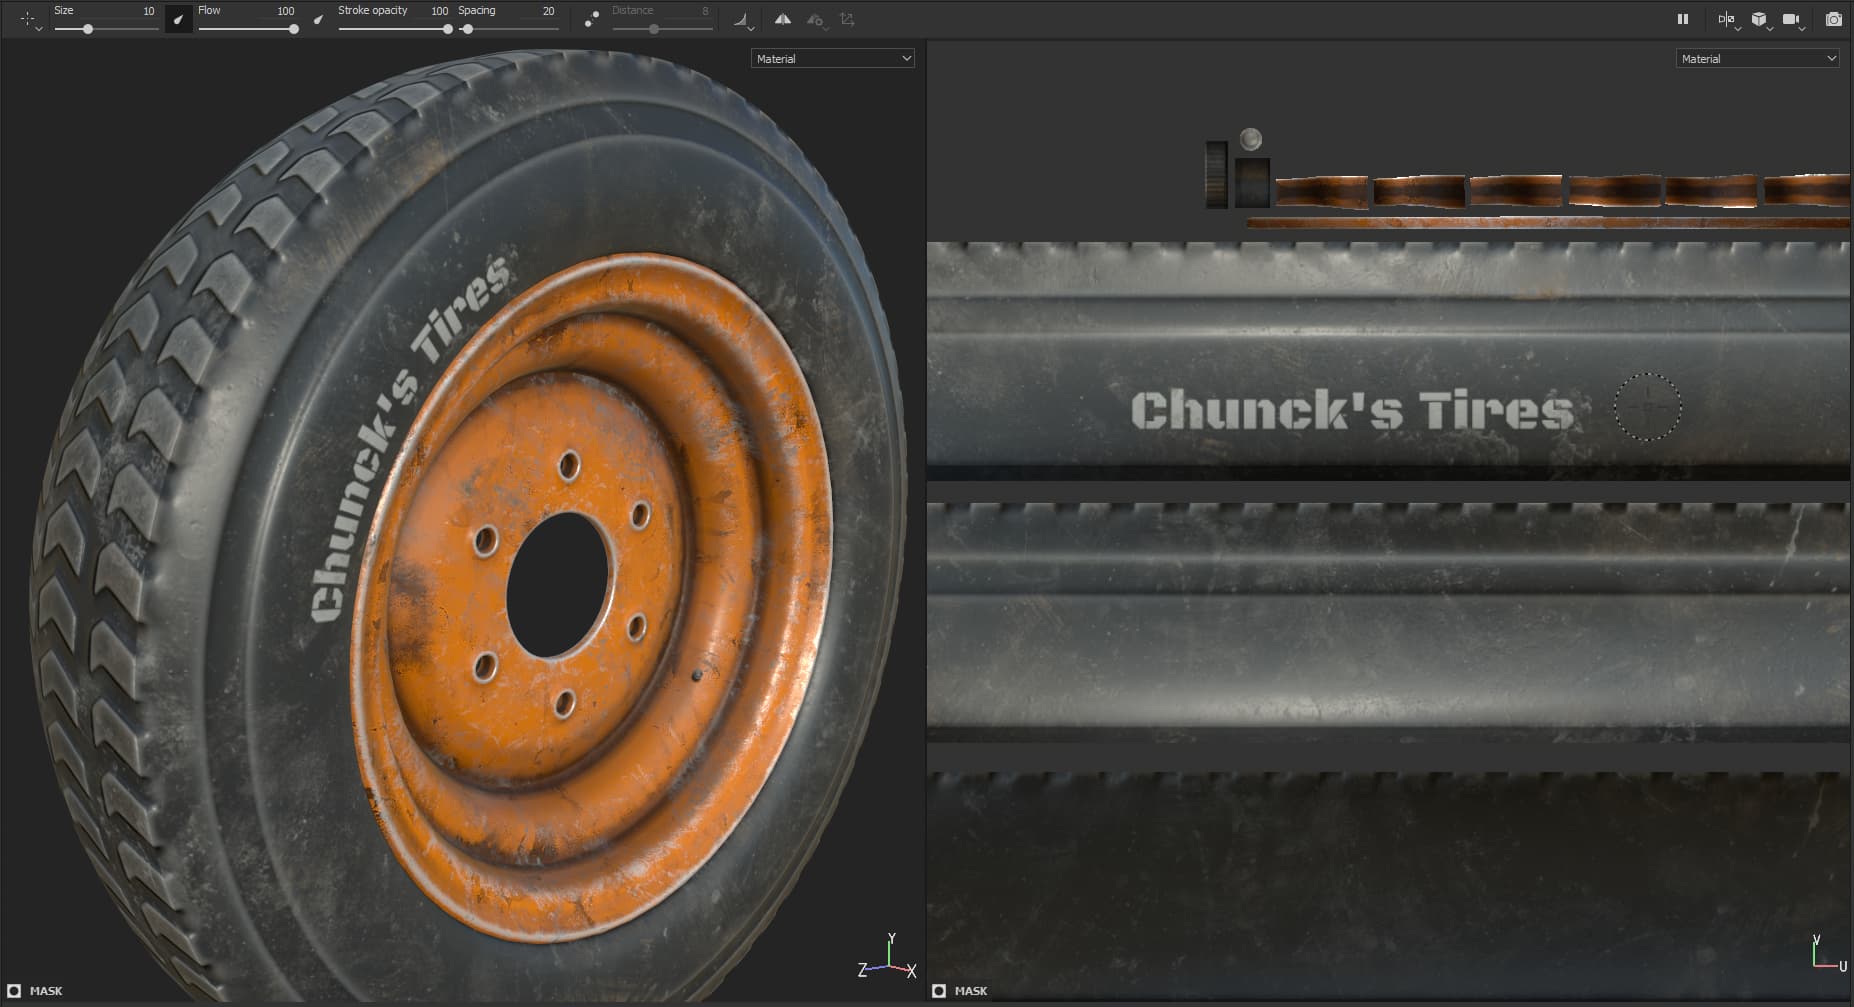
You can easily use the 3D gizmo to position it, you can also press Q to use the picker, and then you can simply pick a position on your mesh to place it. It will you use camera for alignment. The feature is also available in the viewport toolbar (The topmost picker icon)
Once that is done, it should look like this:
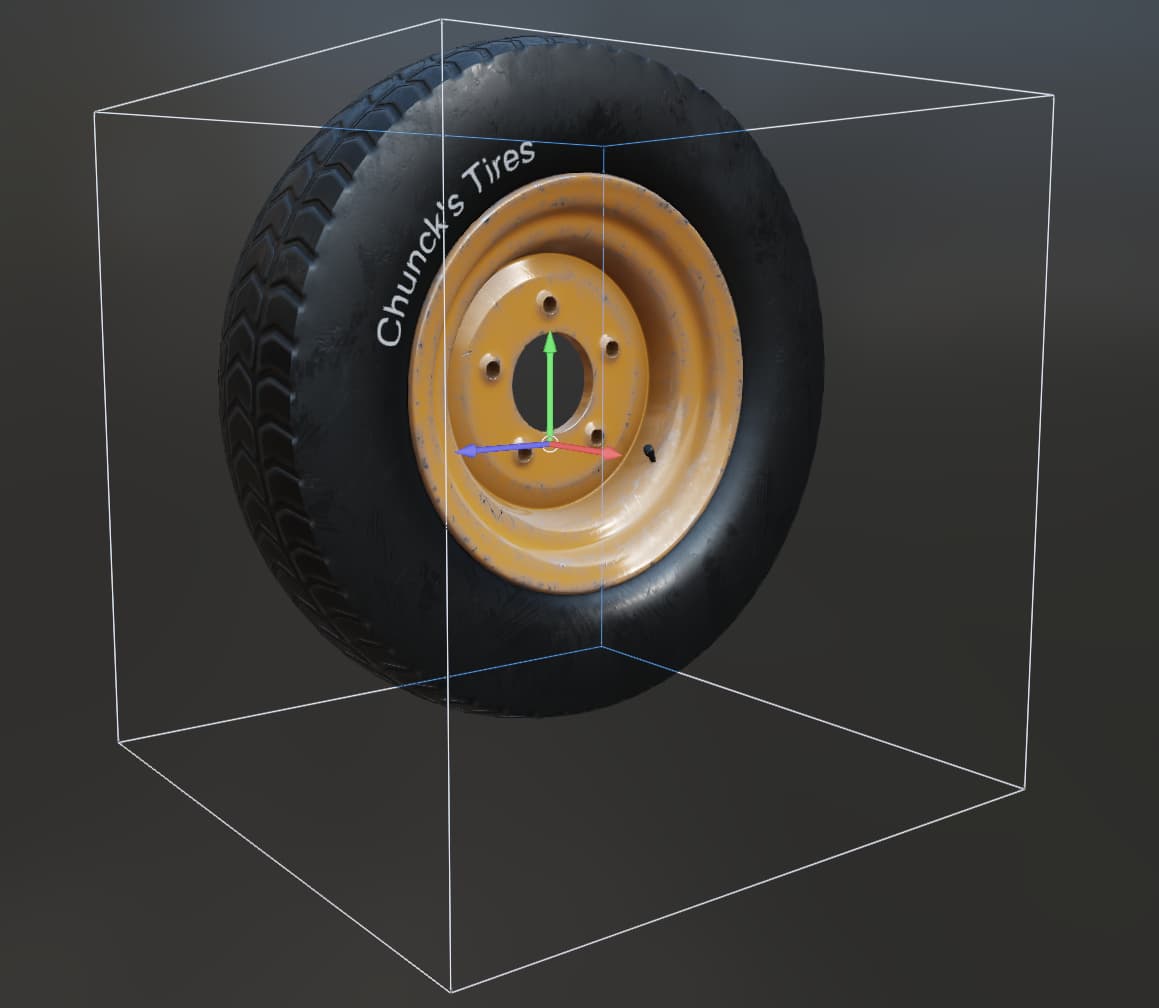
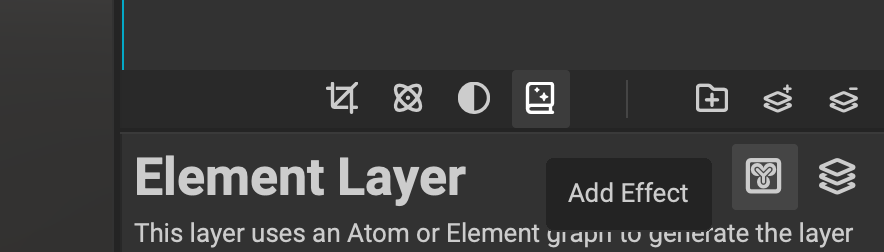
To bend the text you can simply add an “Effect” to your node. Effects are unique to InstaMAT and they can process multiple channels of your layer at once. This is important, because we have to bend the layer’s decal mask together with the base color for consistency. Simply add the Bend node by clicking the Effects button (highlighted)
Setup the bend so it looks nice!
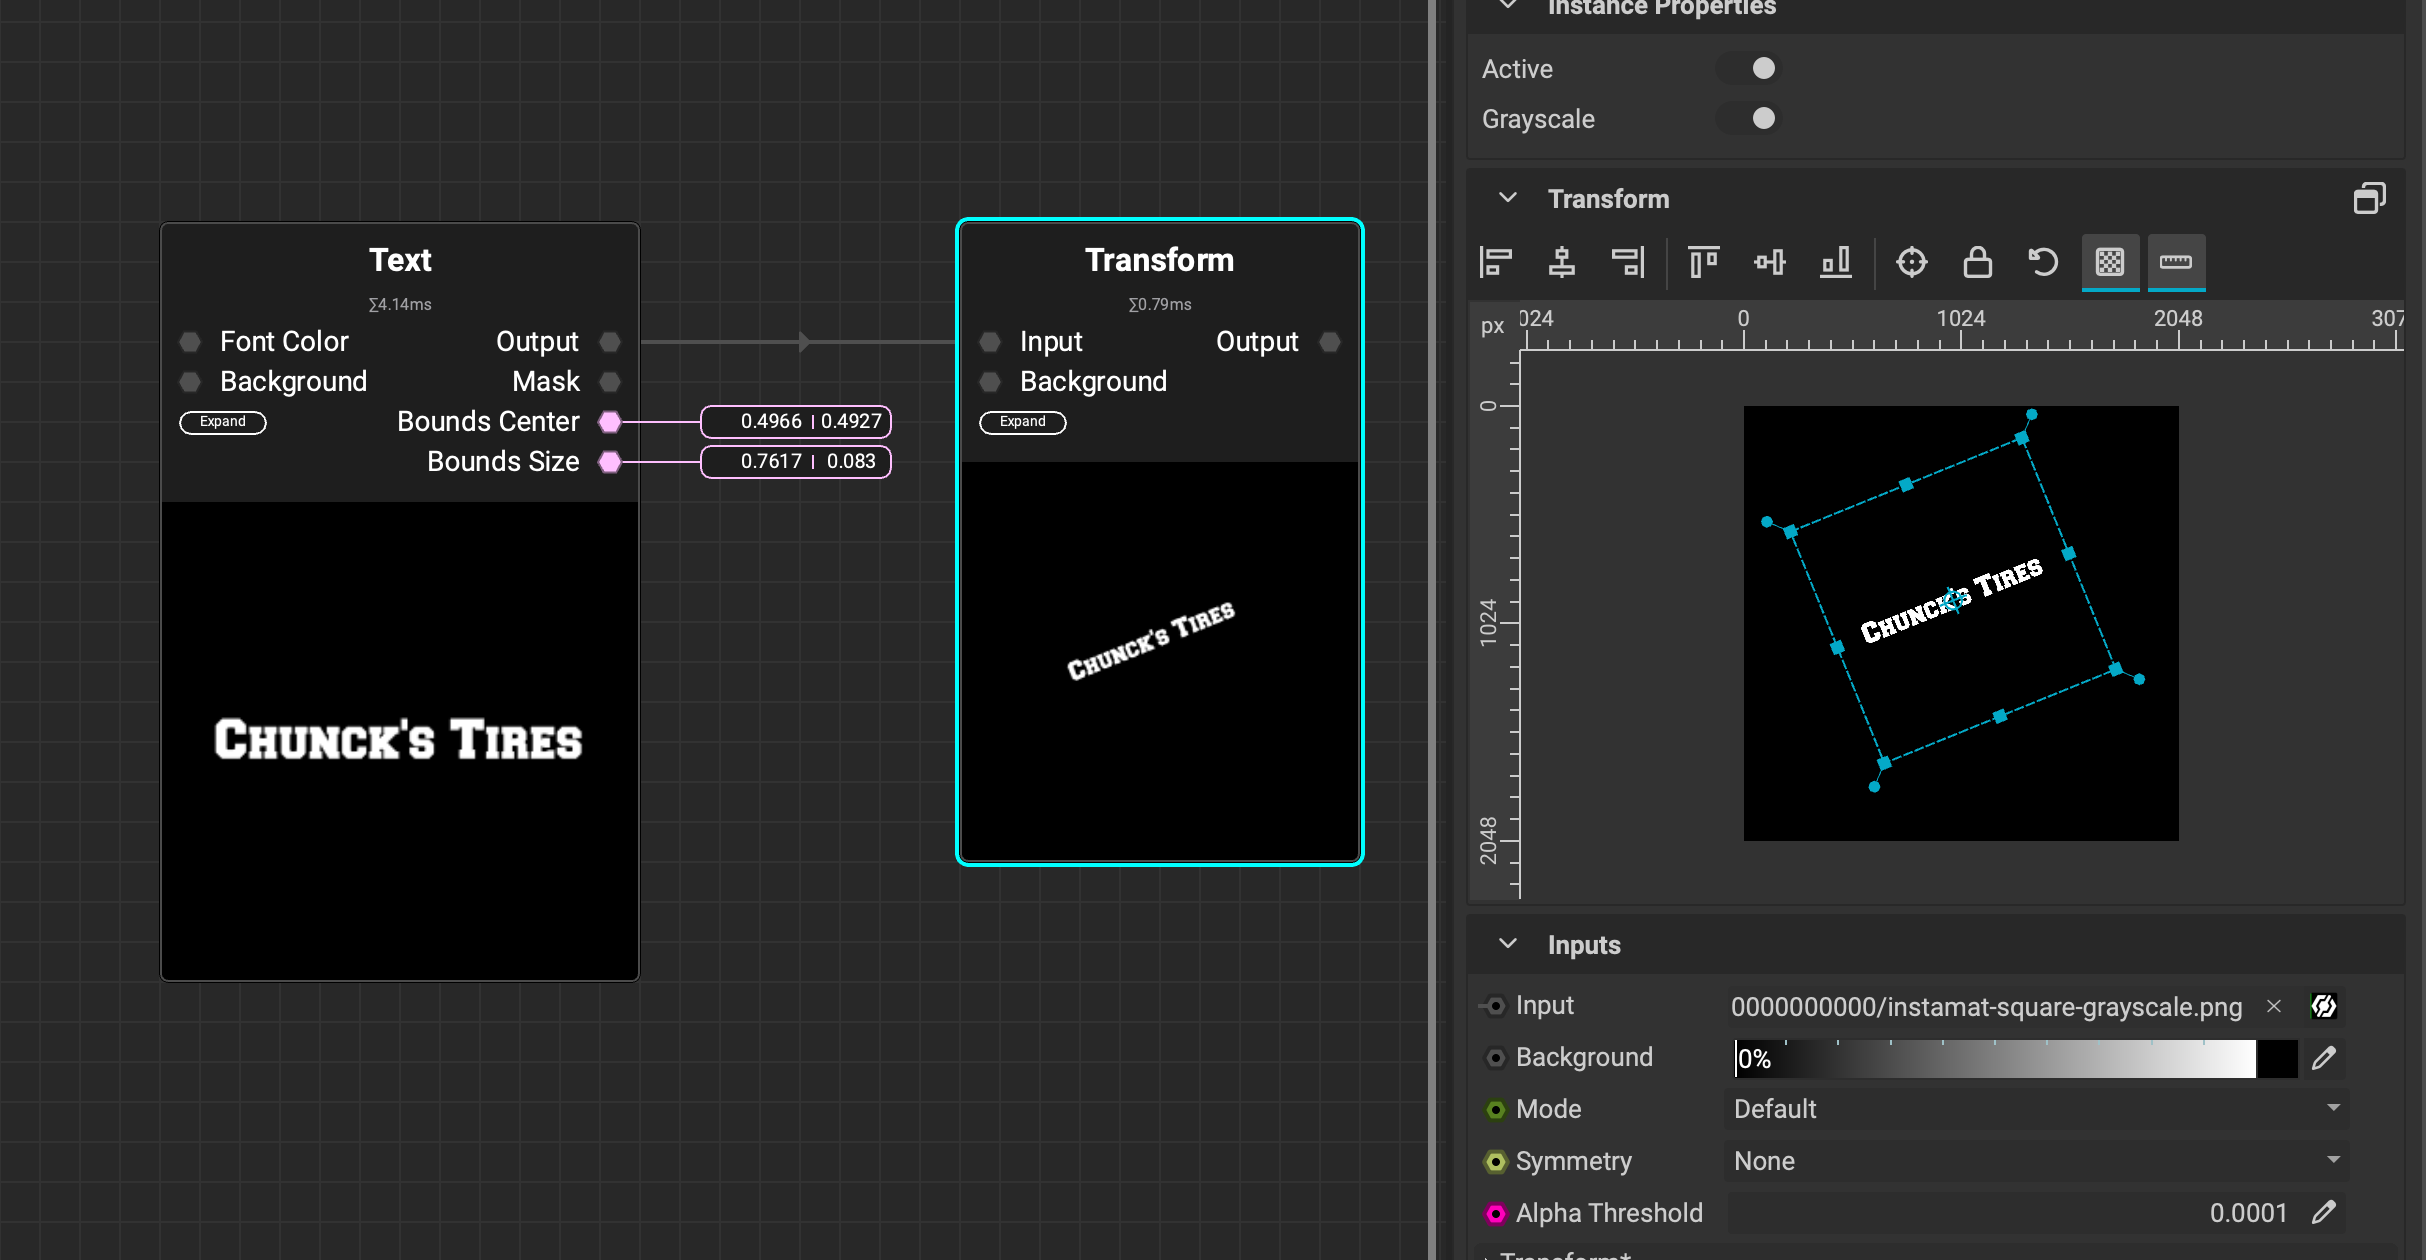
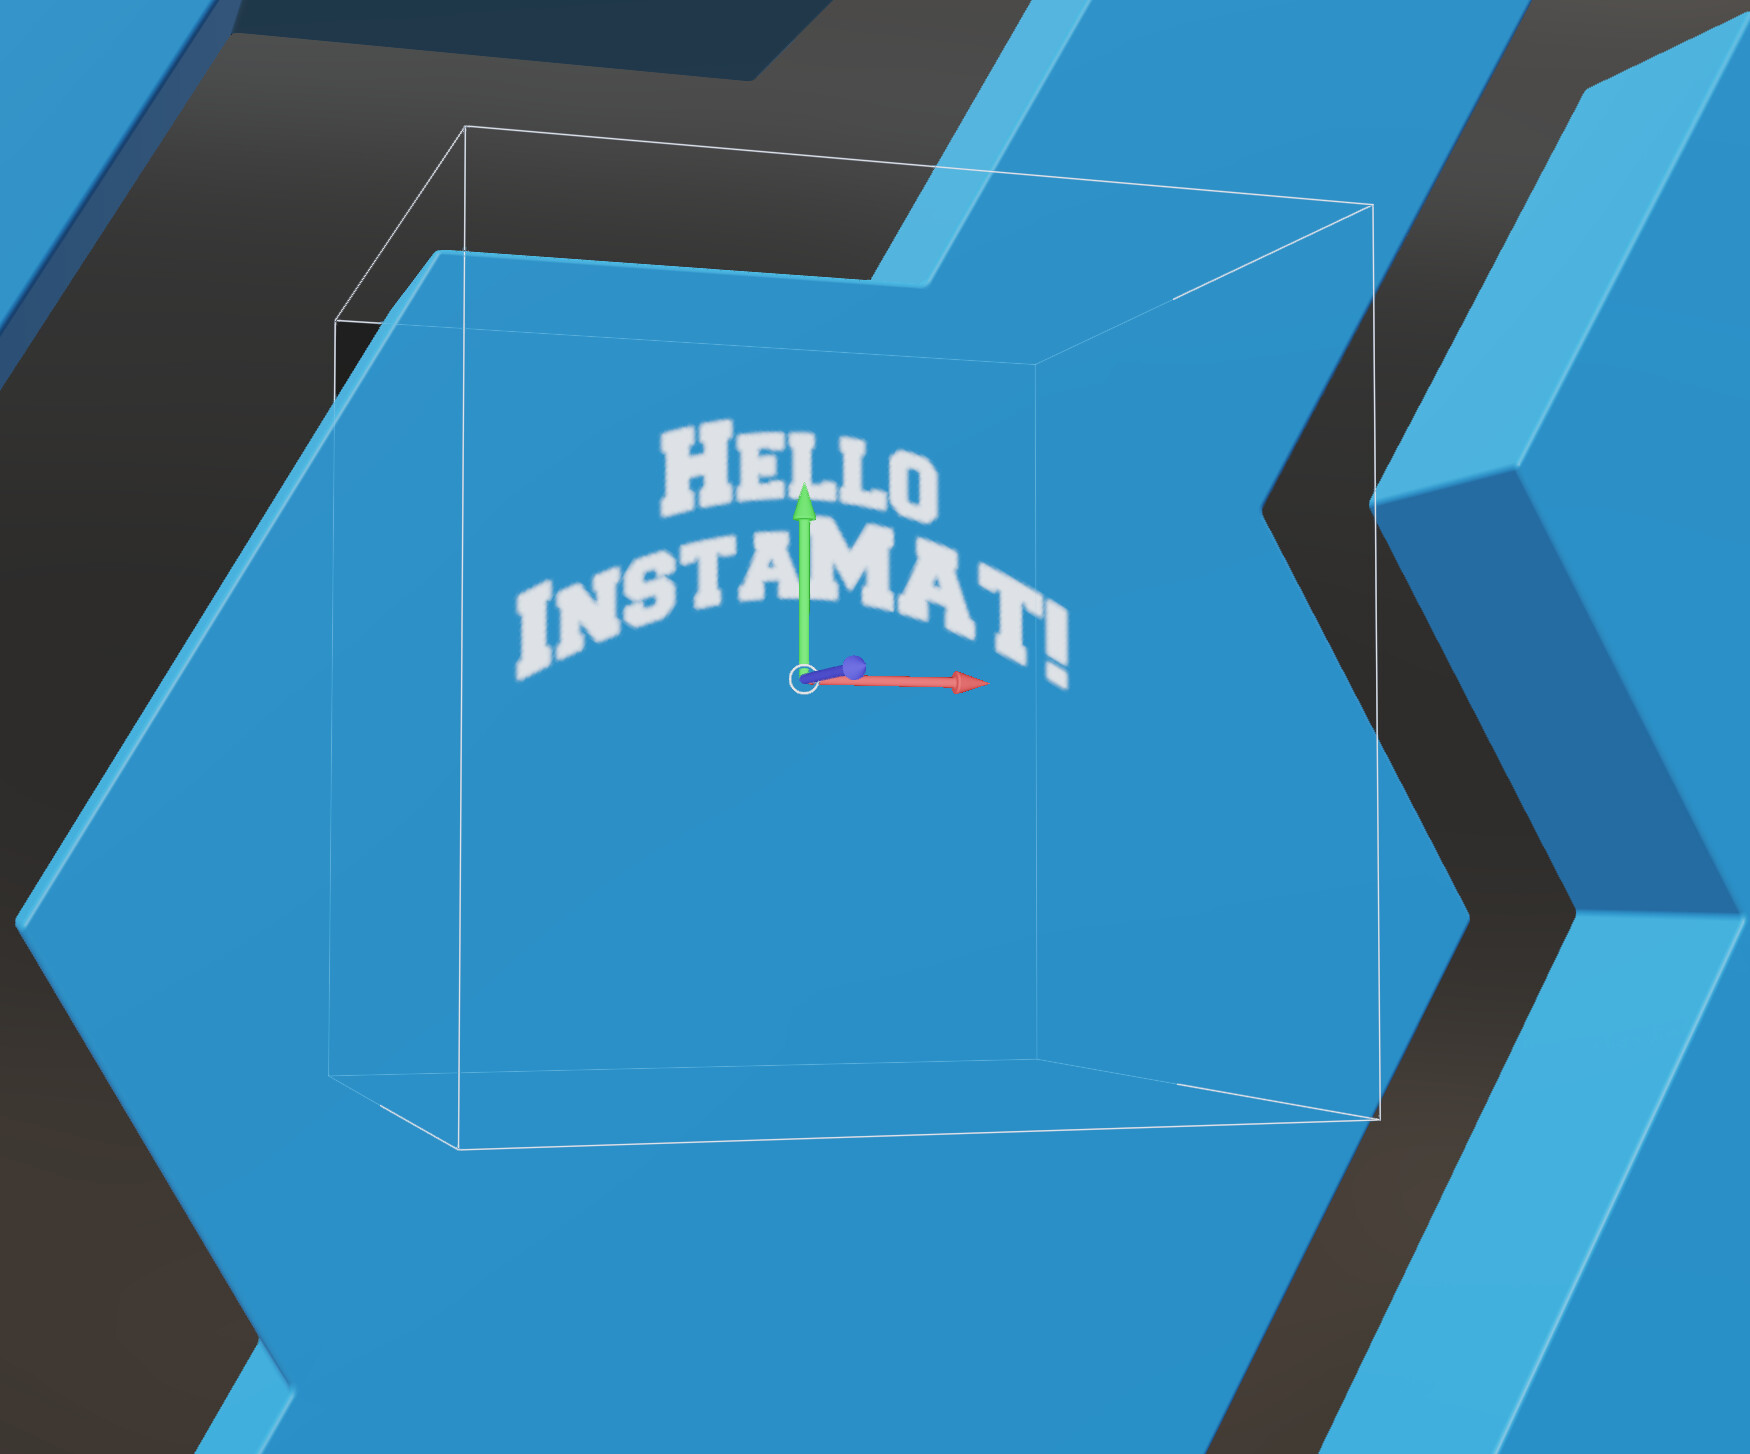
Another way that will be possible in the release build, is to use the Shape Mapper to map your text onto a shape. Here I’m using a “Transform” effect so I can adjust my input image so it works well with the Shape Mapper
If you think about it, this workflow is pretty easy to do, but the layering engine does a large number of transformations to accomplish it!
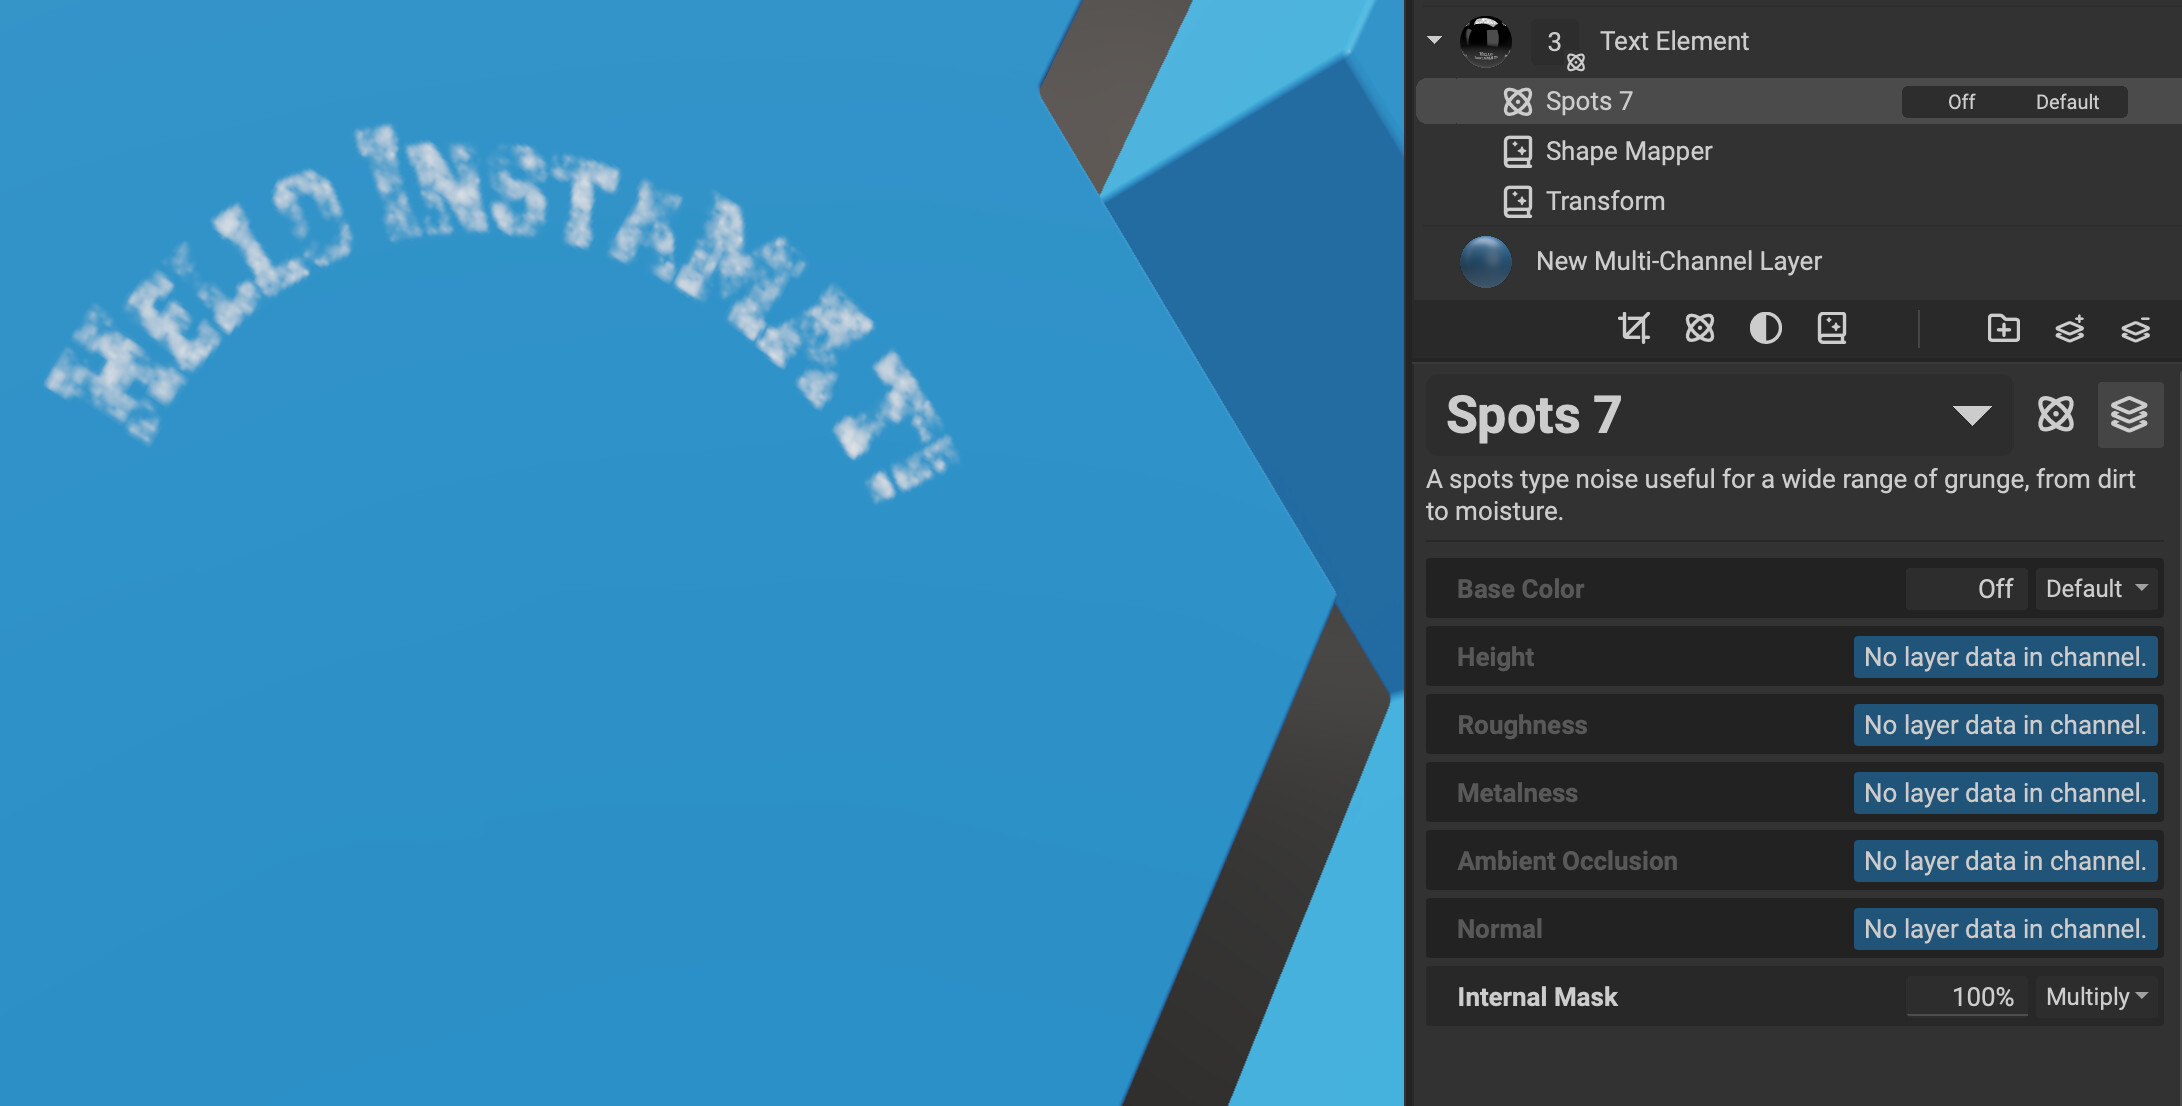
Quick tip, since we’re using an “Internal Mask” channel here, we can simply use a generator to mix data into that channel:
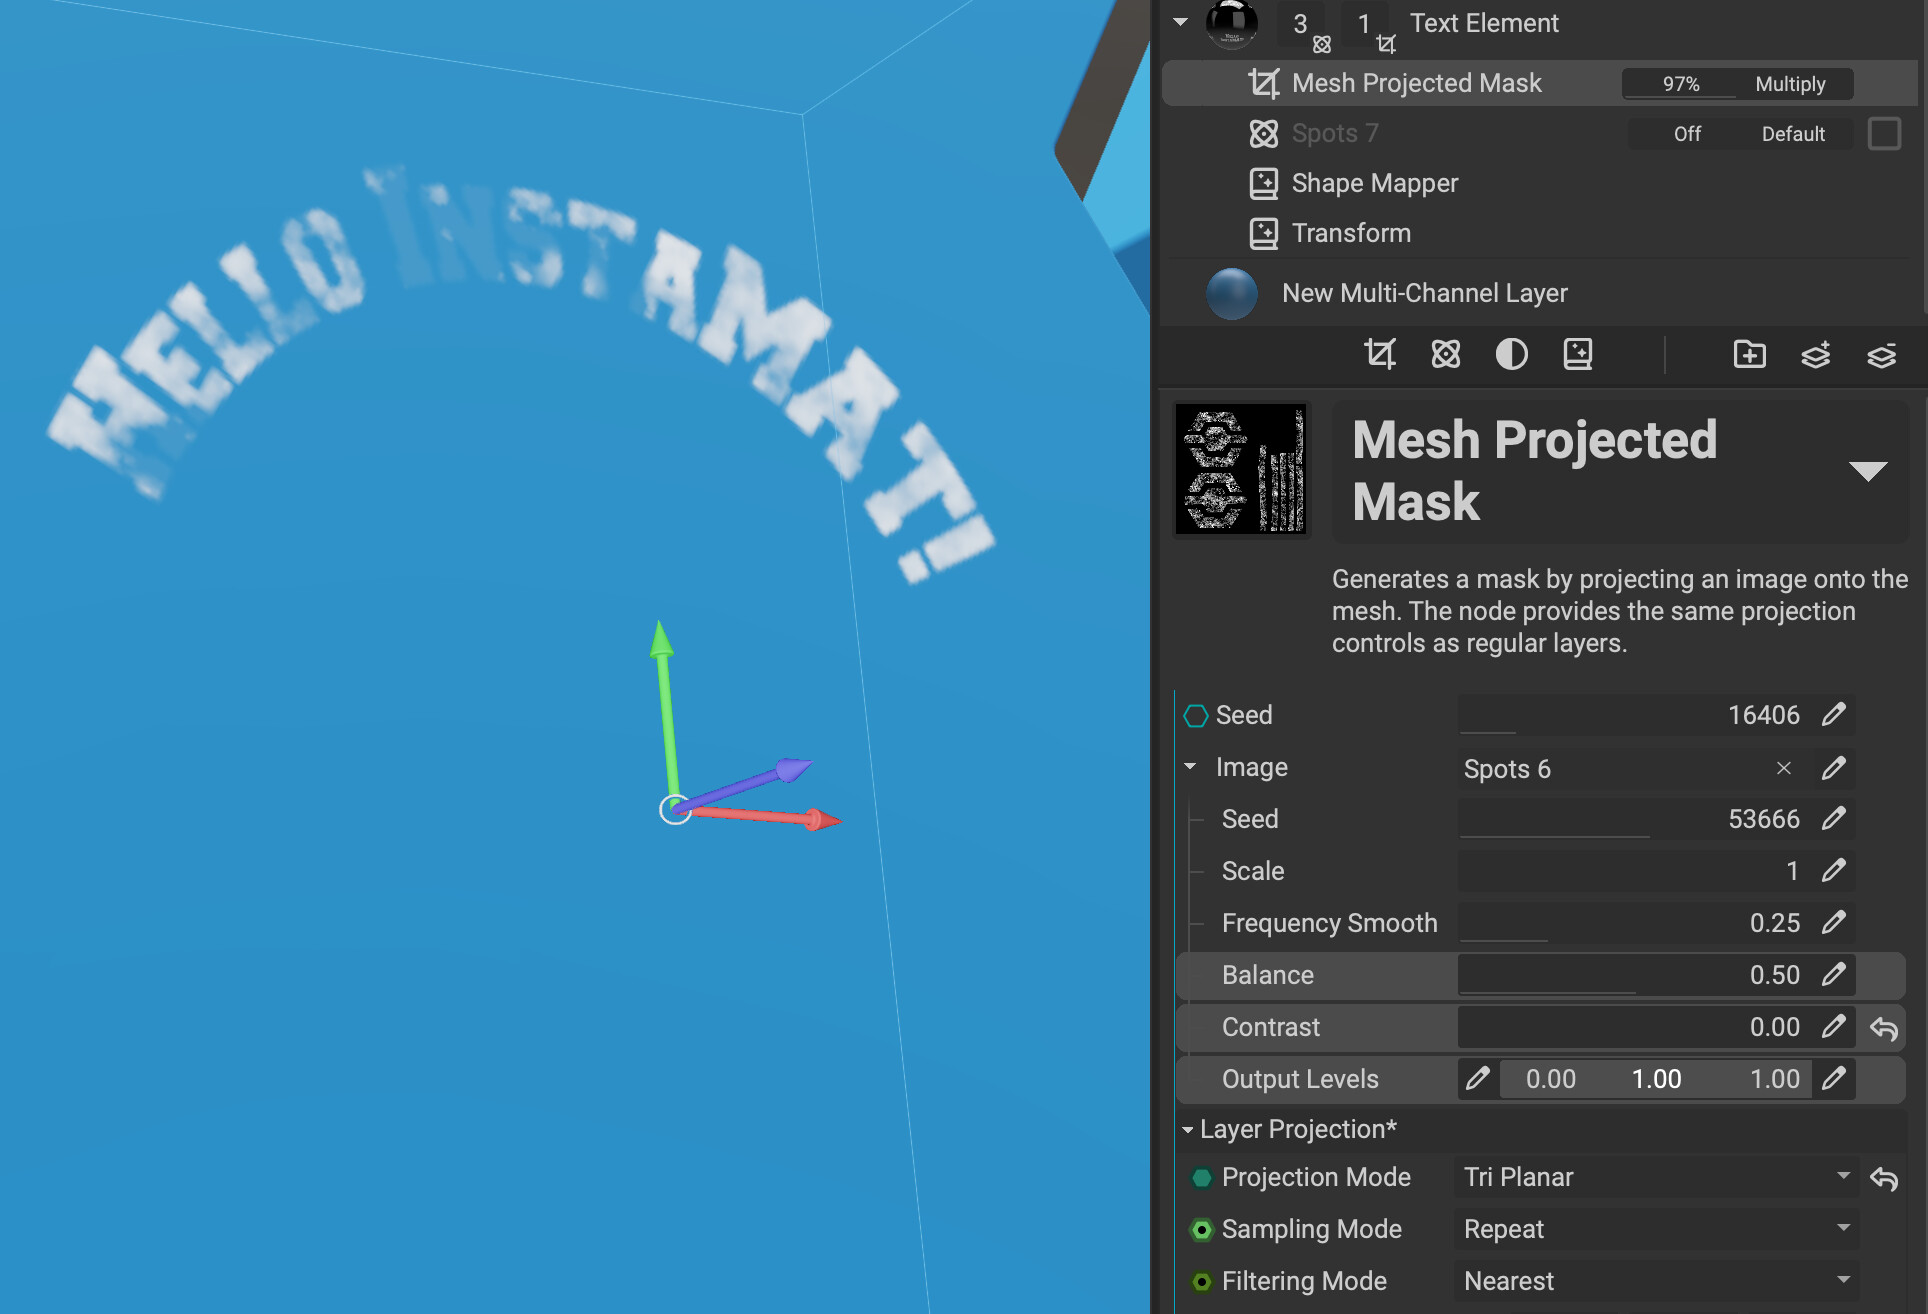
Another really powerful way to do that is to use the “Mesh Project Mask”, this is pretty awesome. You can create a mask that, by itself, can be a triplanar projects or even a decal! This mask, by itself functions like a layer channel so you can assign anything to it, images or even nodes!
This allows for some really interesting workflows where your main layer is decal projected, but even the masks are decal projected!